Adding Attachments
Keep everything in one place. Attach PDFs and images directly to your tasks so the context you need is always where the work is.
Enable attachments for your project
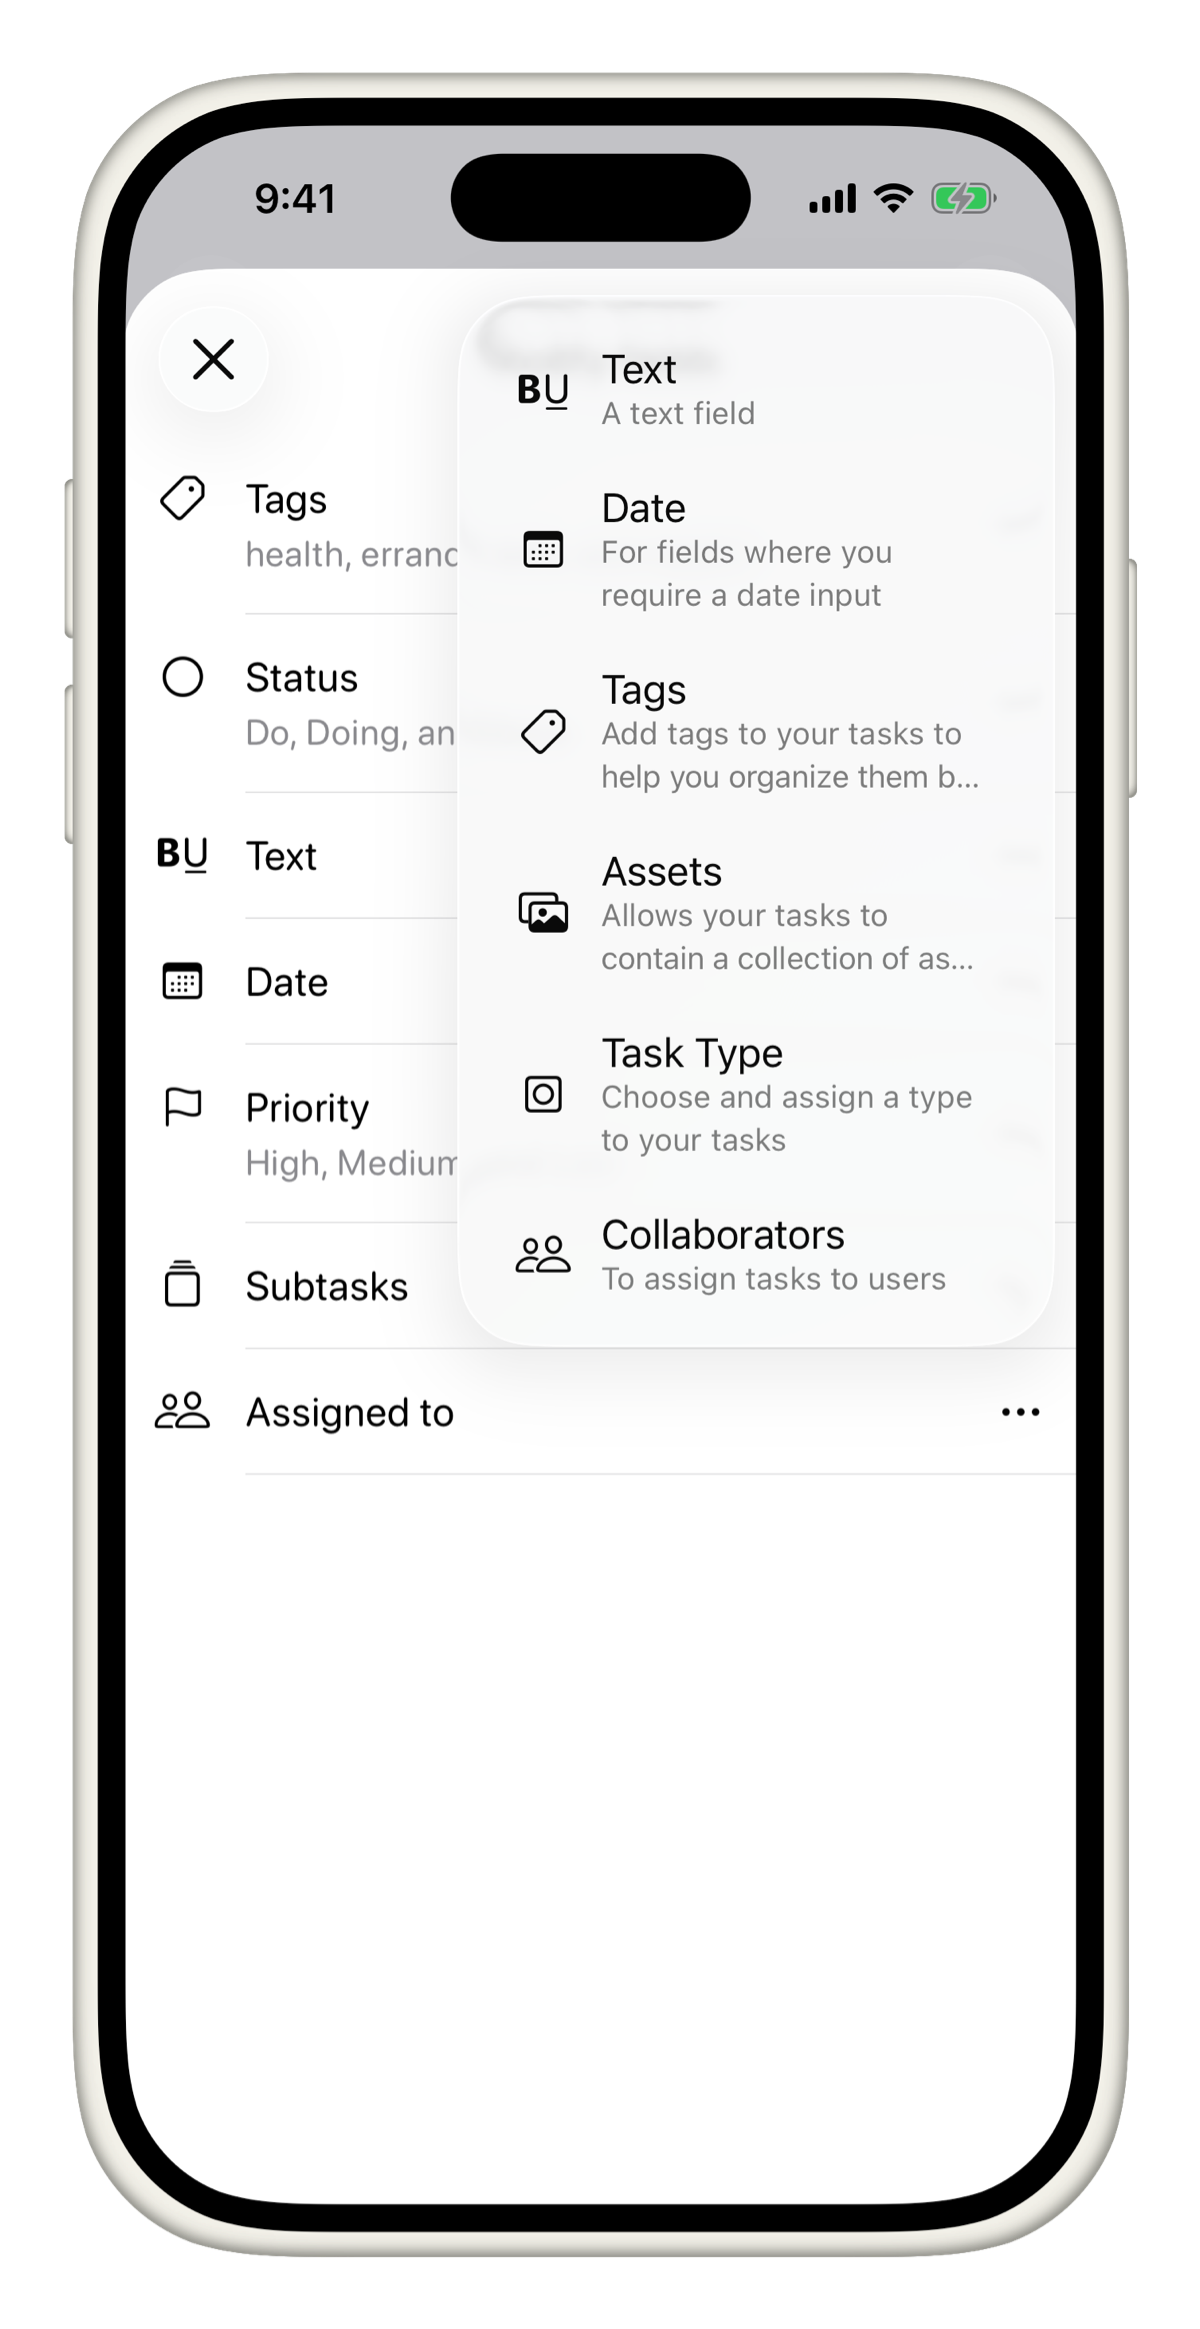
Attachments are not enabled by default on every project. If you do not see the Assets field on your tasks, you need to add it first.
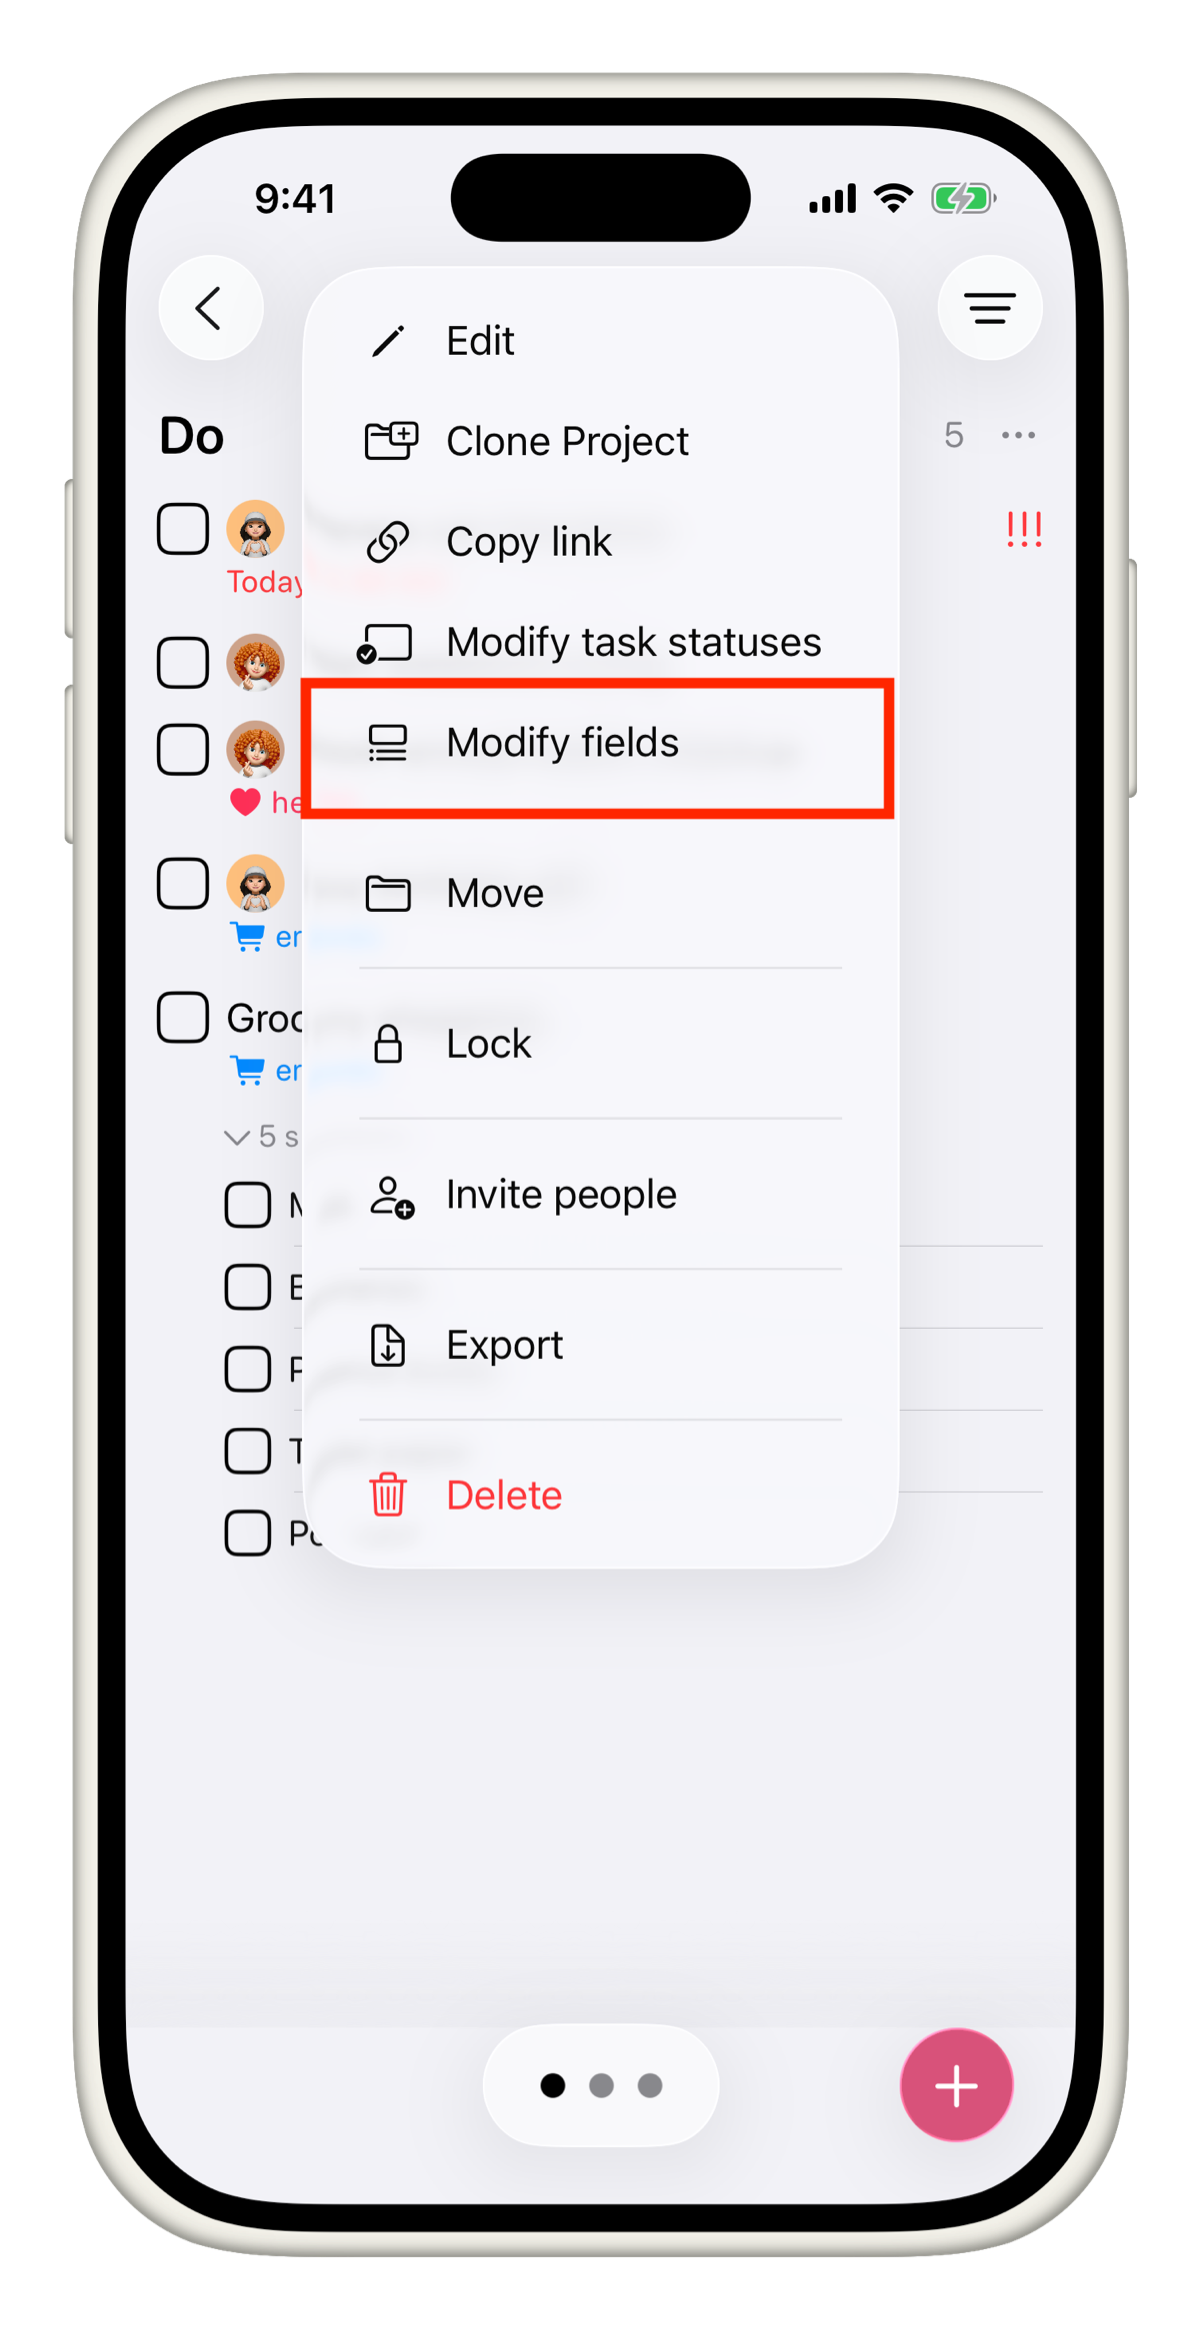
- Long press (or right-click) on your project in the sidebar.
- Tap + then select Modify Fields.
- Add the Assets field.
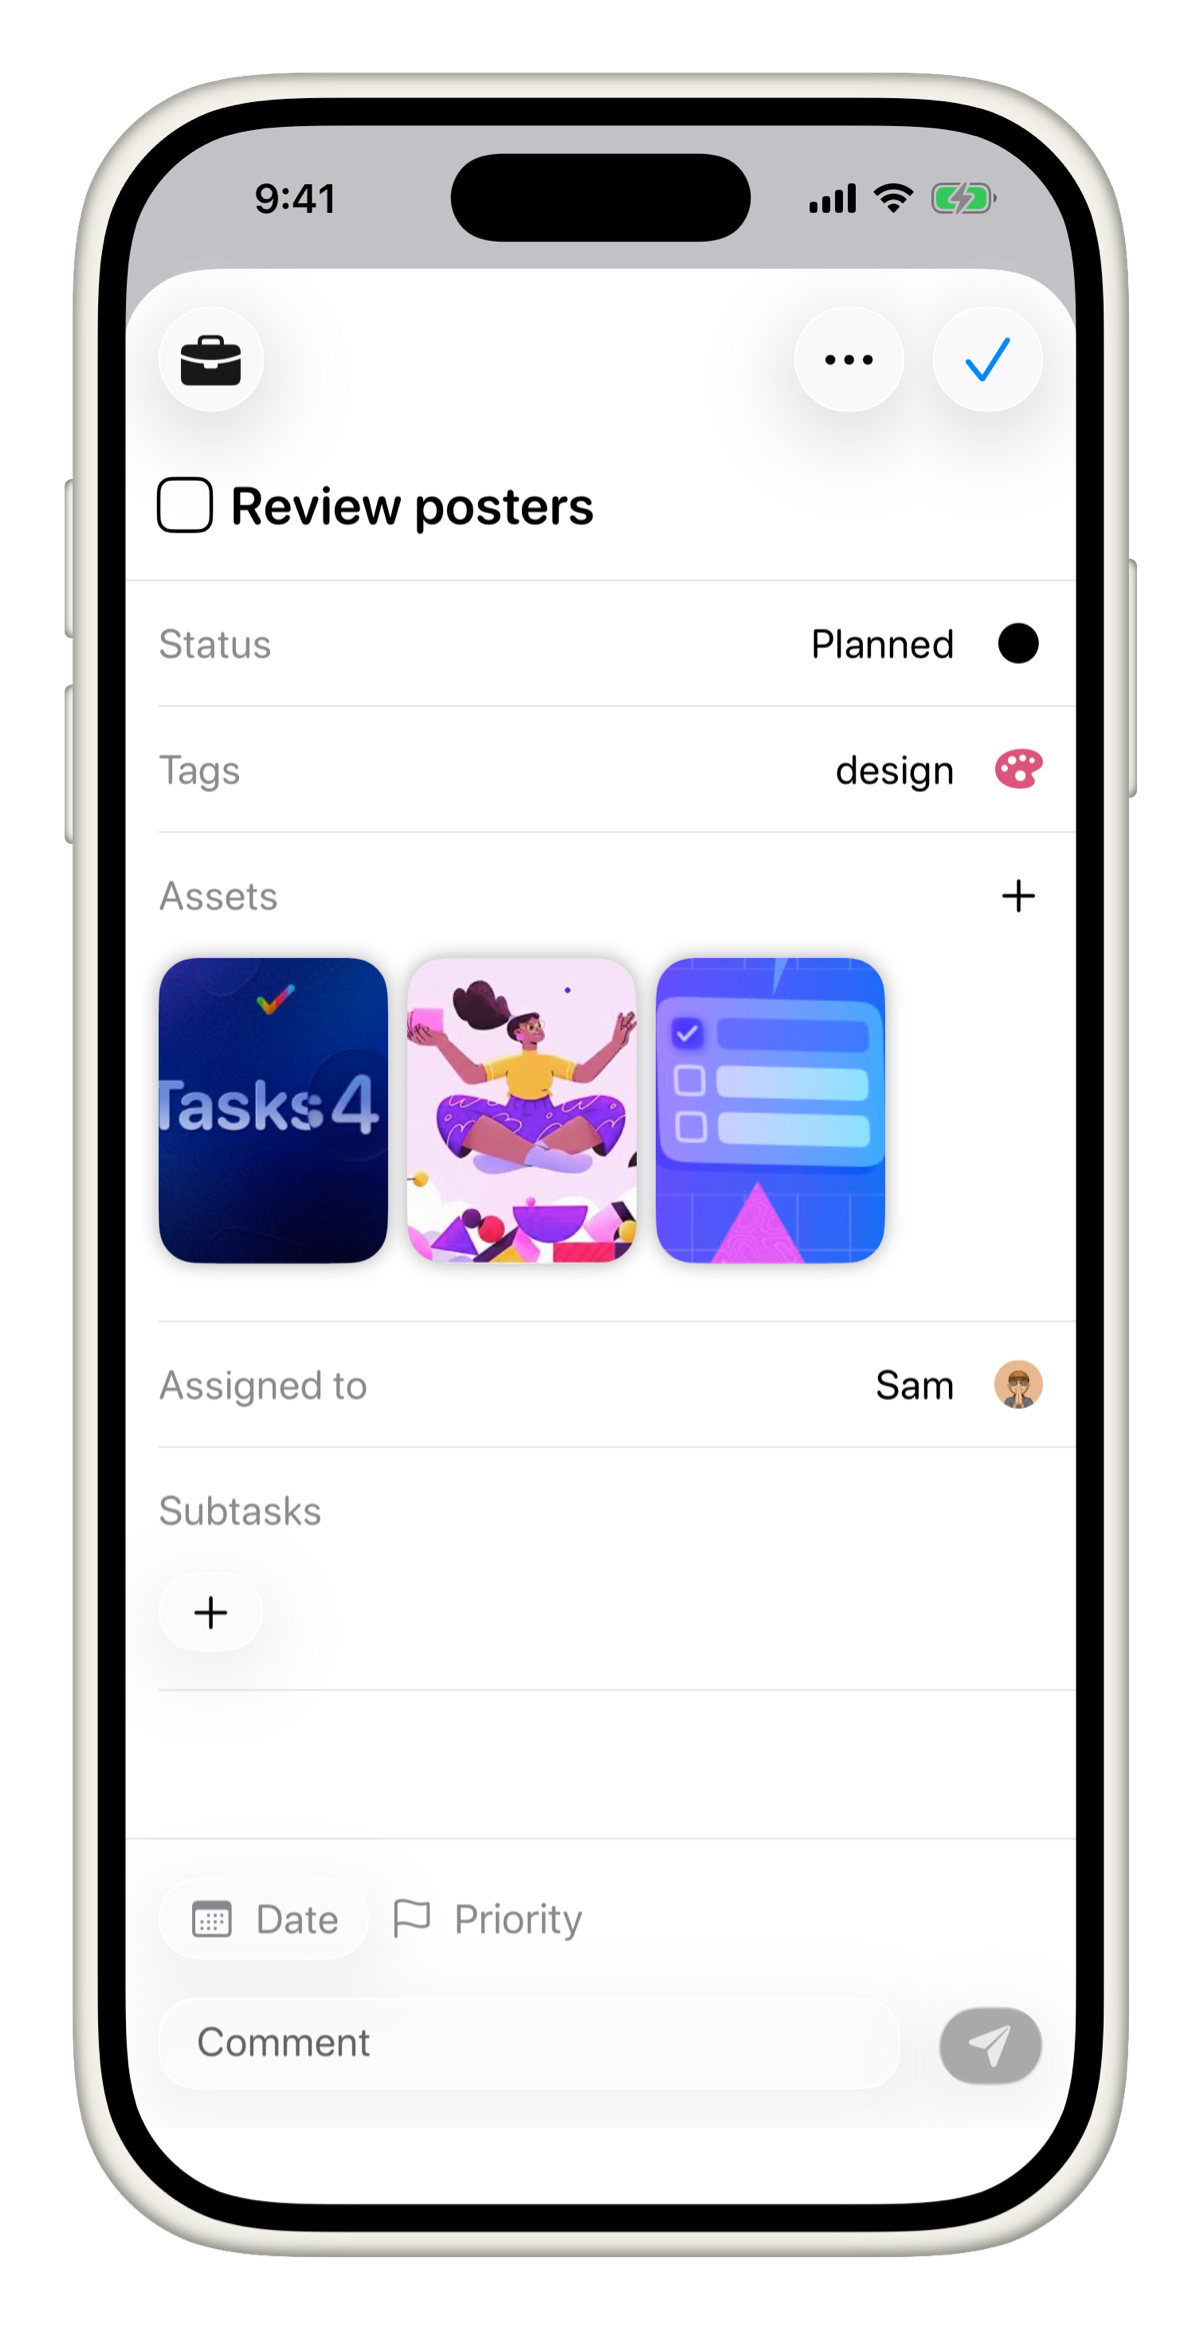
Once added, every task in that project will have an Assets section ready to go.
Add an attachment to a task
- Open the task you want to add an attachment to.
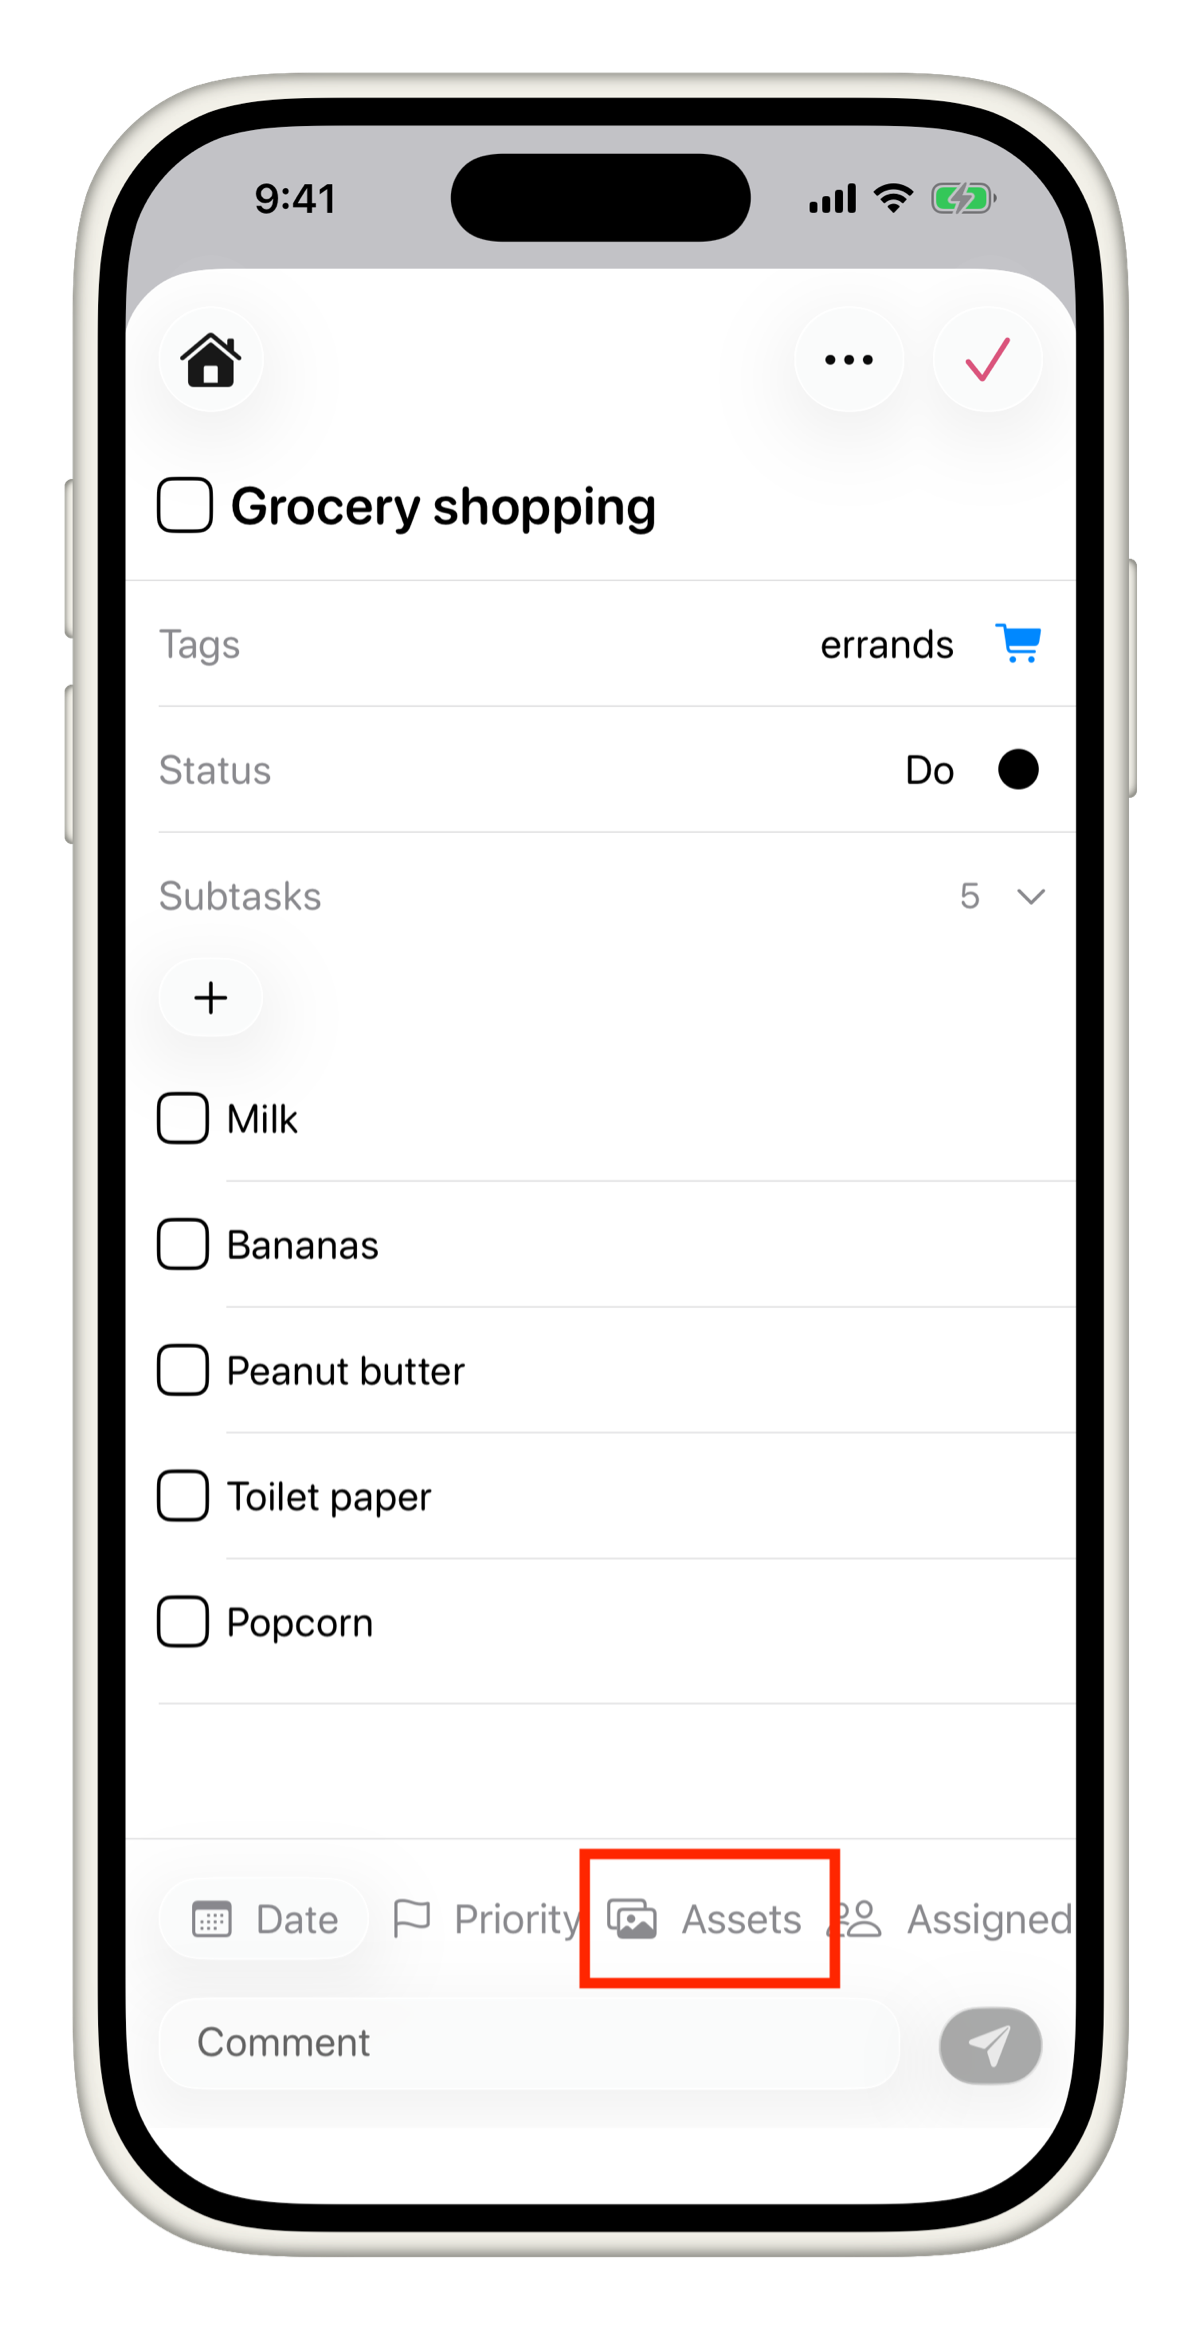
- Scroll to the Assets section.
- Tap + to add a file.
- Choose either a PDF or an Image.
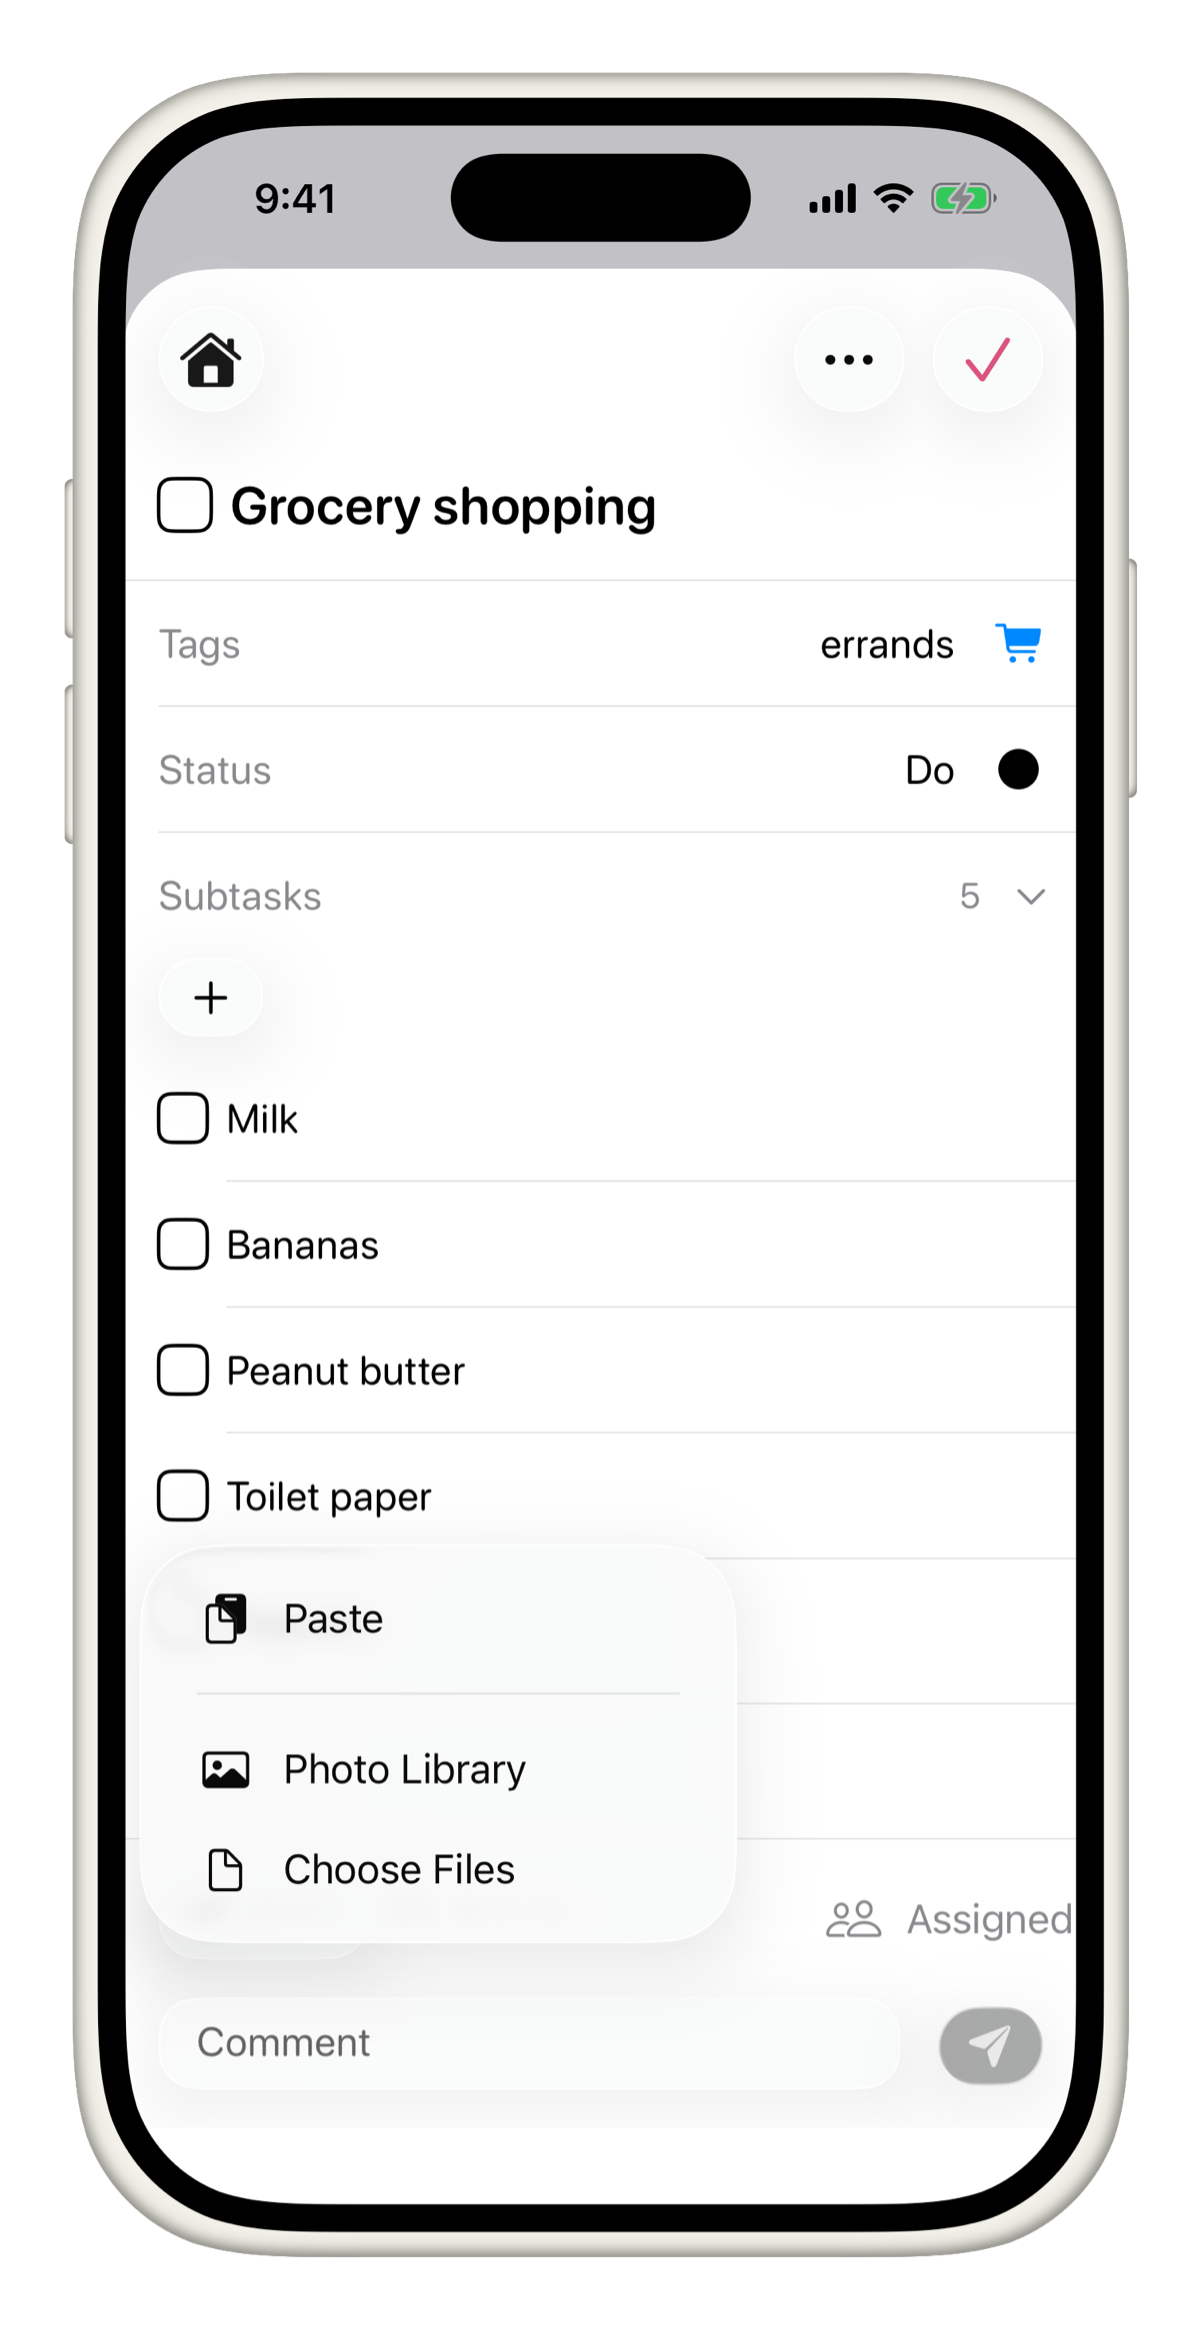
You can also copy and paste assets directly into the Assets section. No need to browse for the file every time.
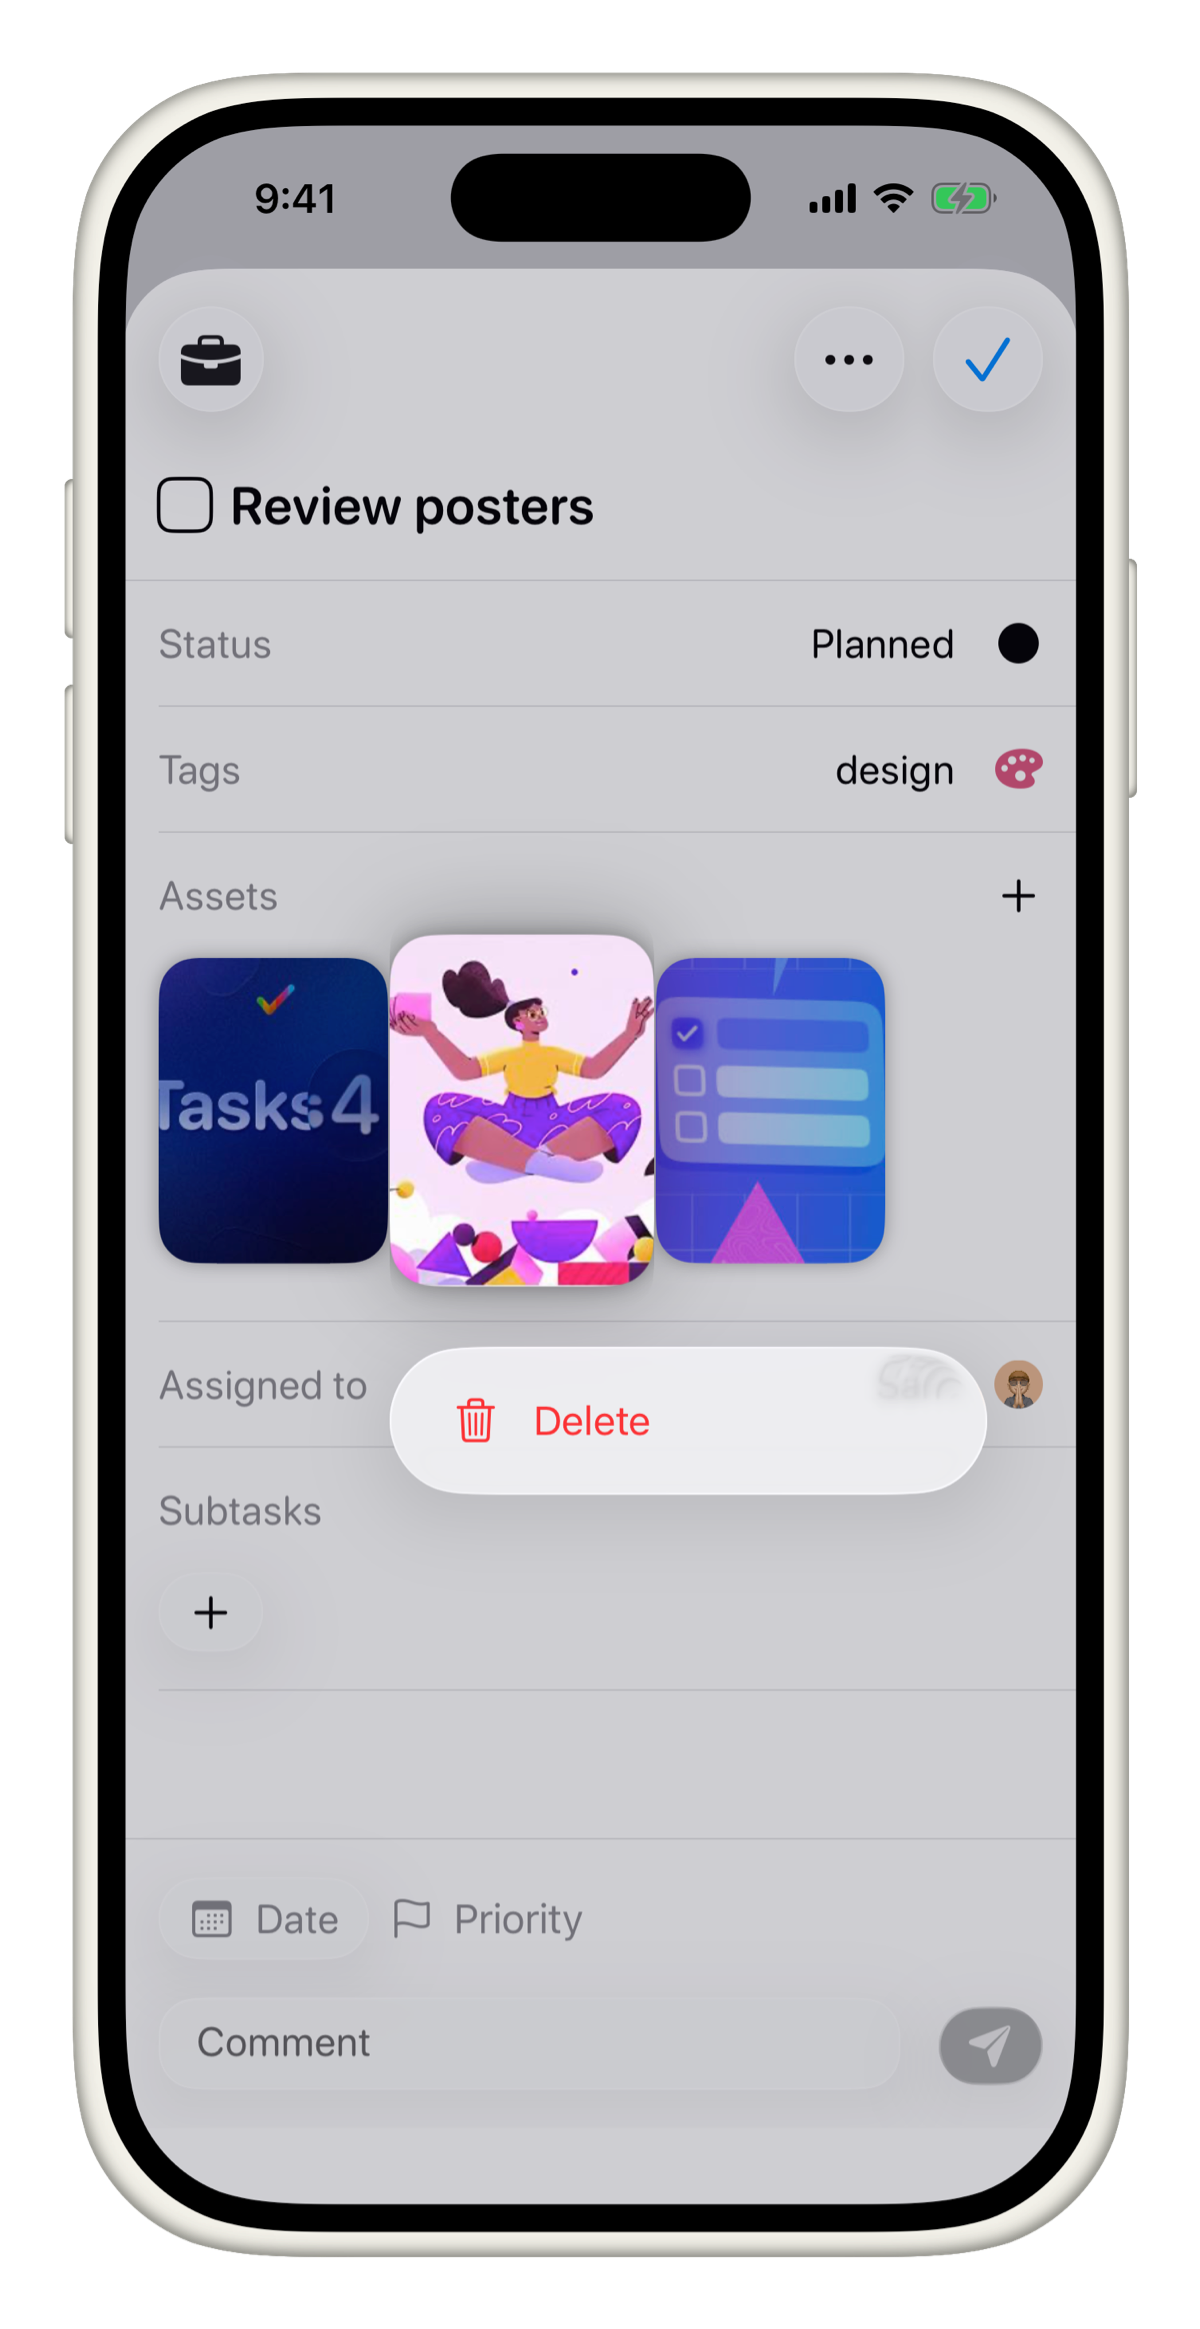
Delete an attachment
There are two ways to remove an asset from a task.
On Mac:
Right-click on the asset and select Delete.
On iPhone:
Tap on the asset and select Delete.
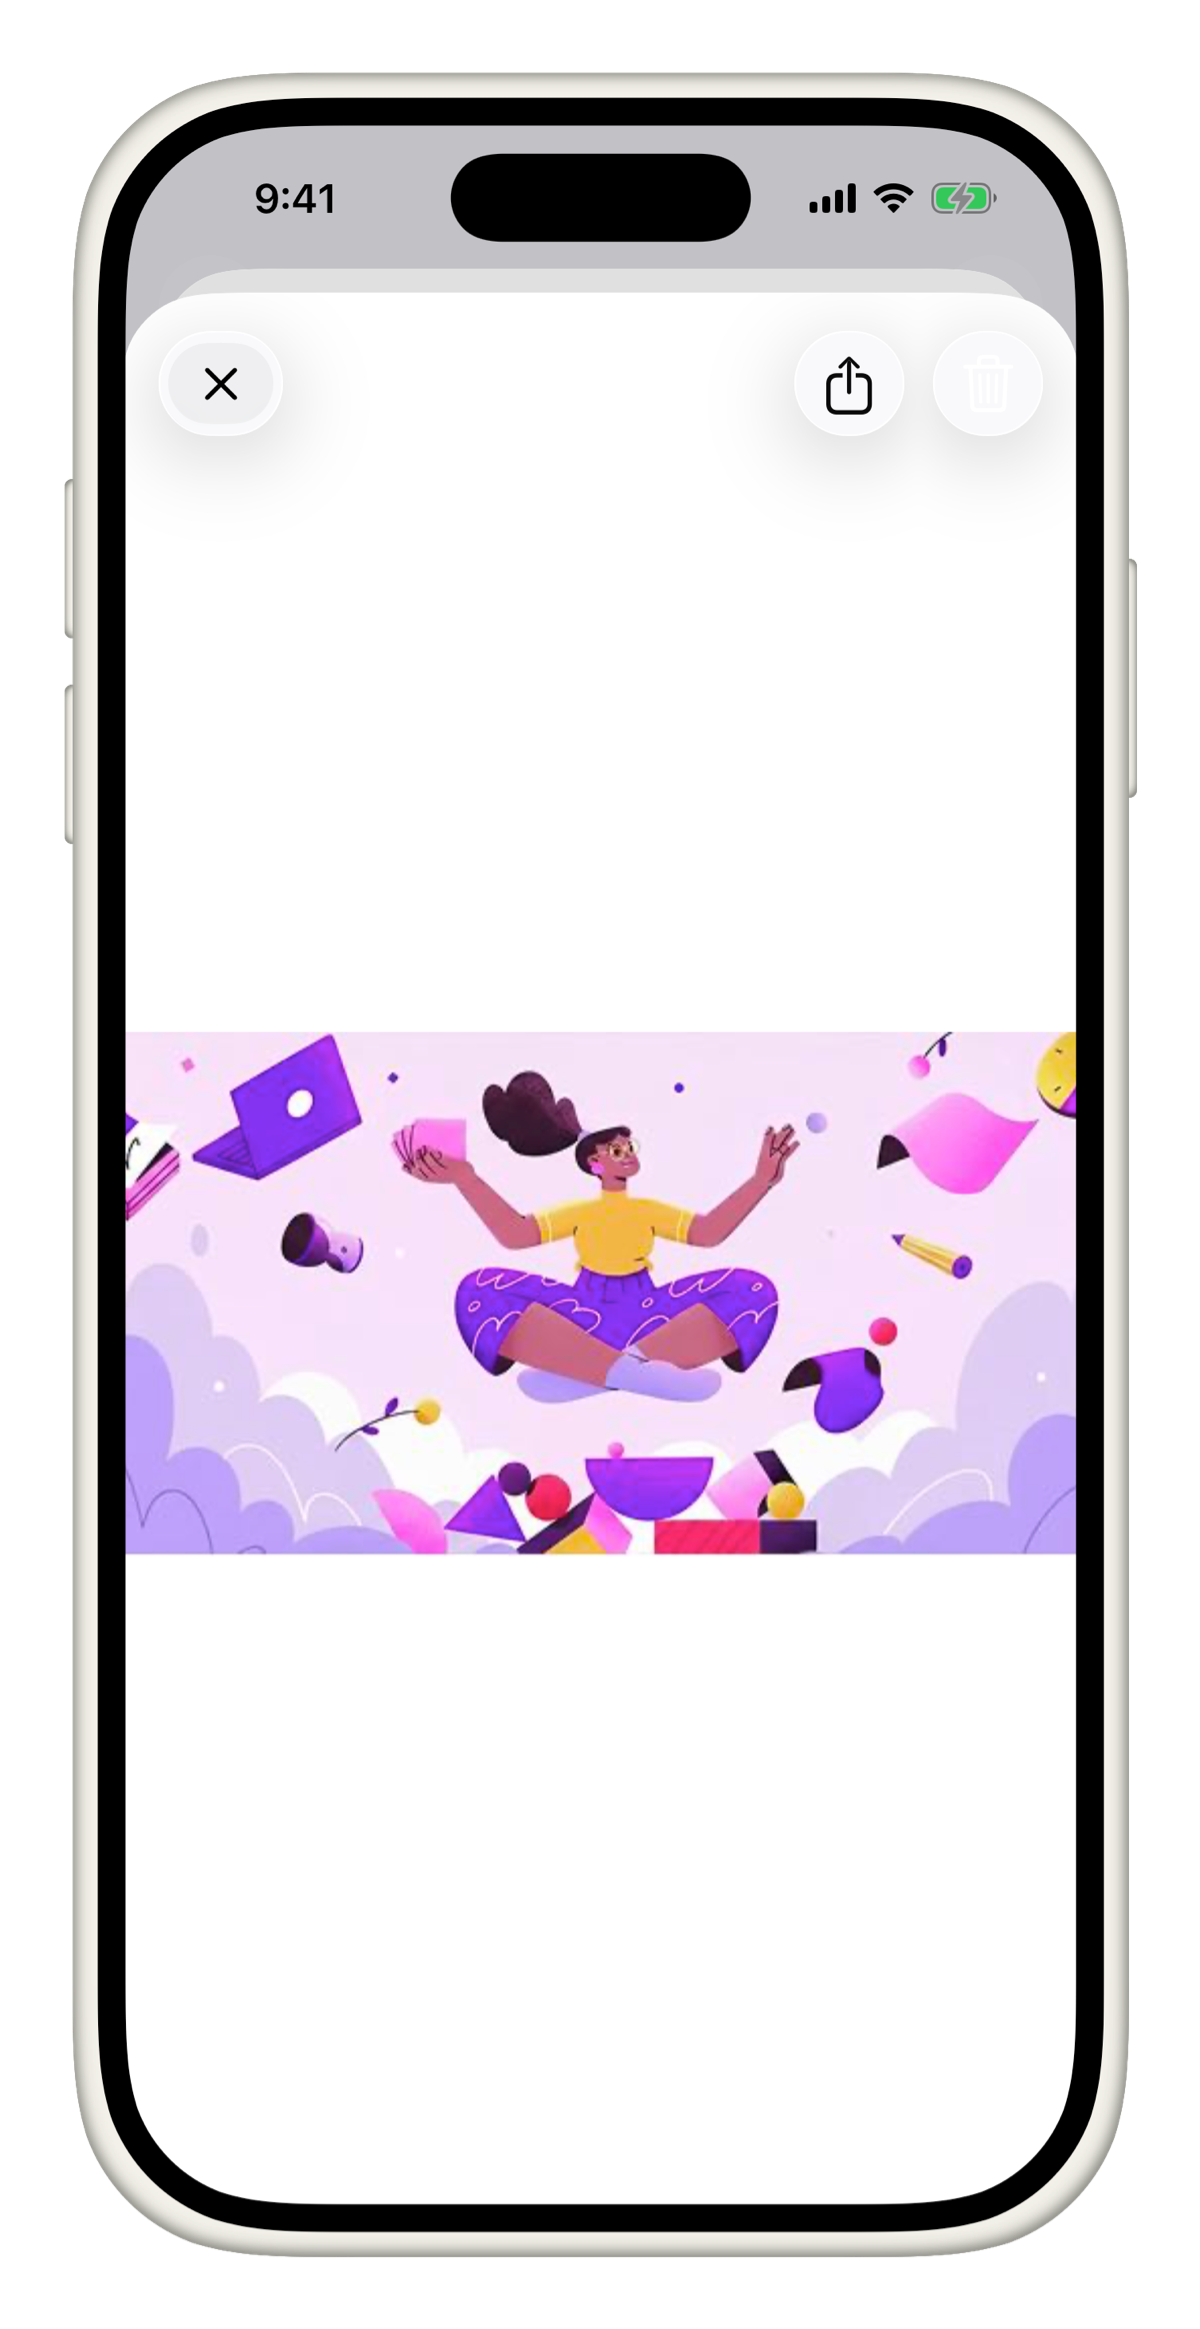
Alternatively, on any platform, tap or click to open the asset and use the Delete button in the top right corner.
Share an attachment
You can share any asset directly from within Tasks to any app on your device.
- Tap or click on the asset to open it.
- Tap the Share icon in the top right corner.
- Choose where you want to send it from the share sheet.
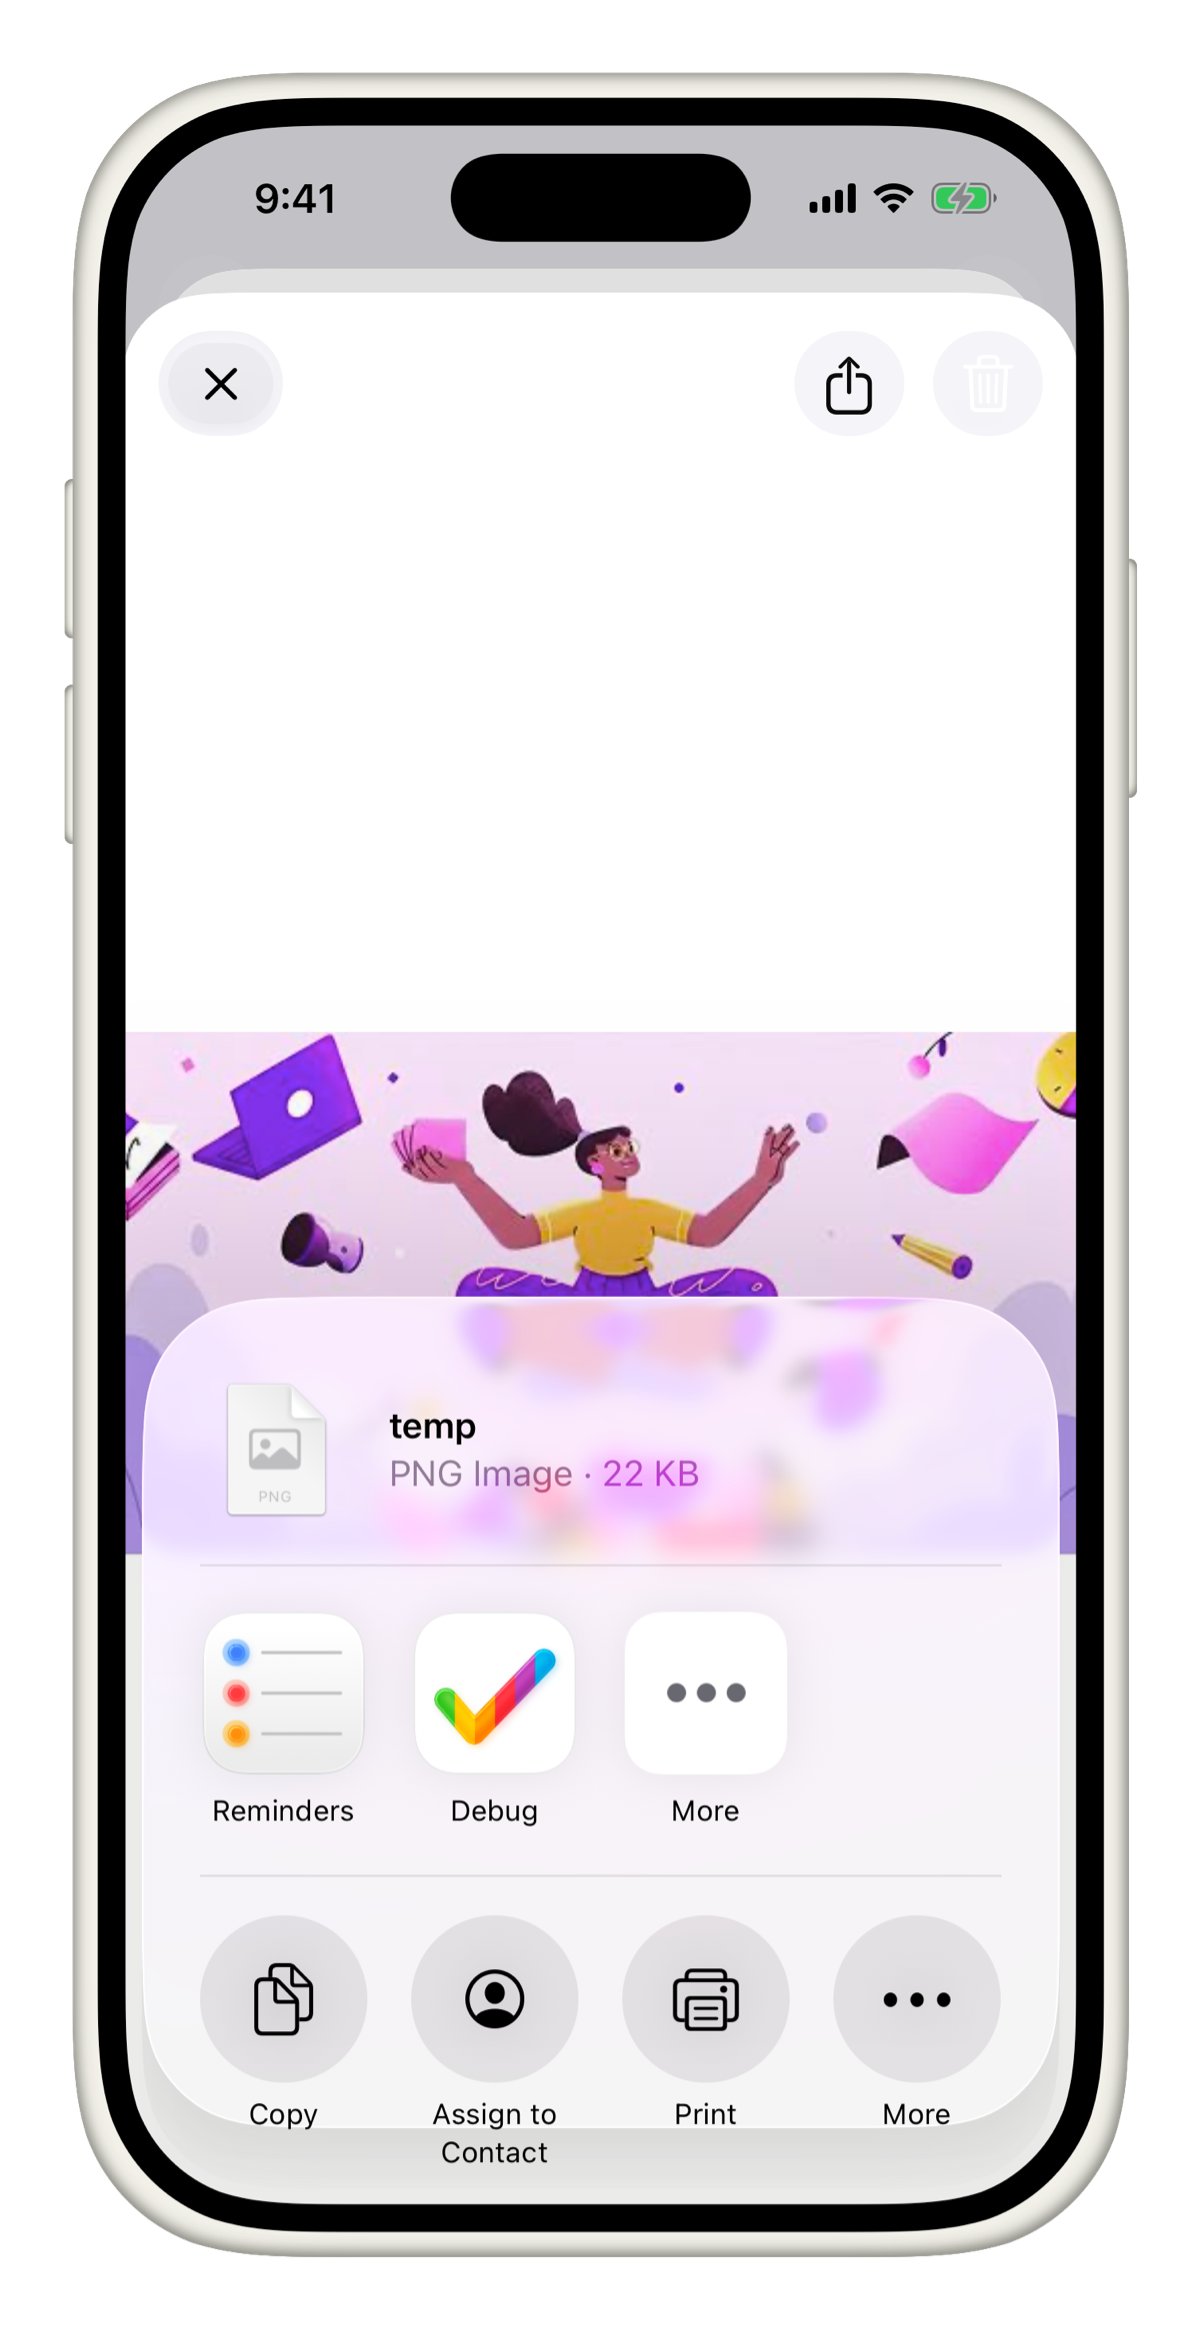
Sharing opens the standard system share sheet, so you can send assets to Mail, Messages, Files, or any other app that supports it.