Customize Fields
No two projects are the same, so your fields should not be either. Tasks lets you add, rename, remove, and reorder fields so every project captures exactly what you need.
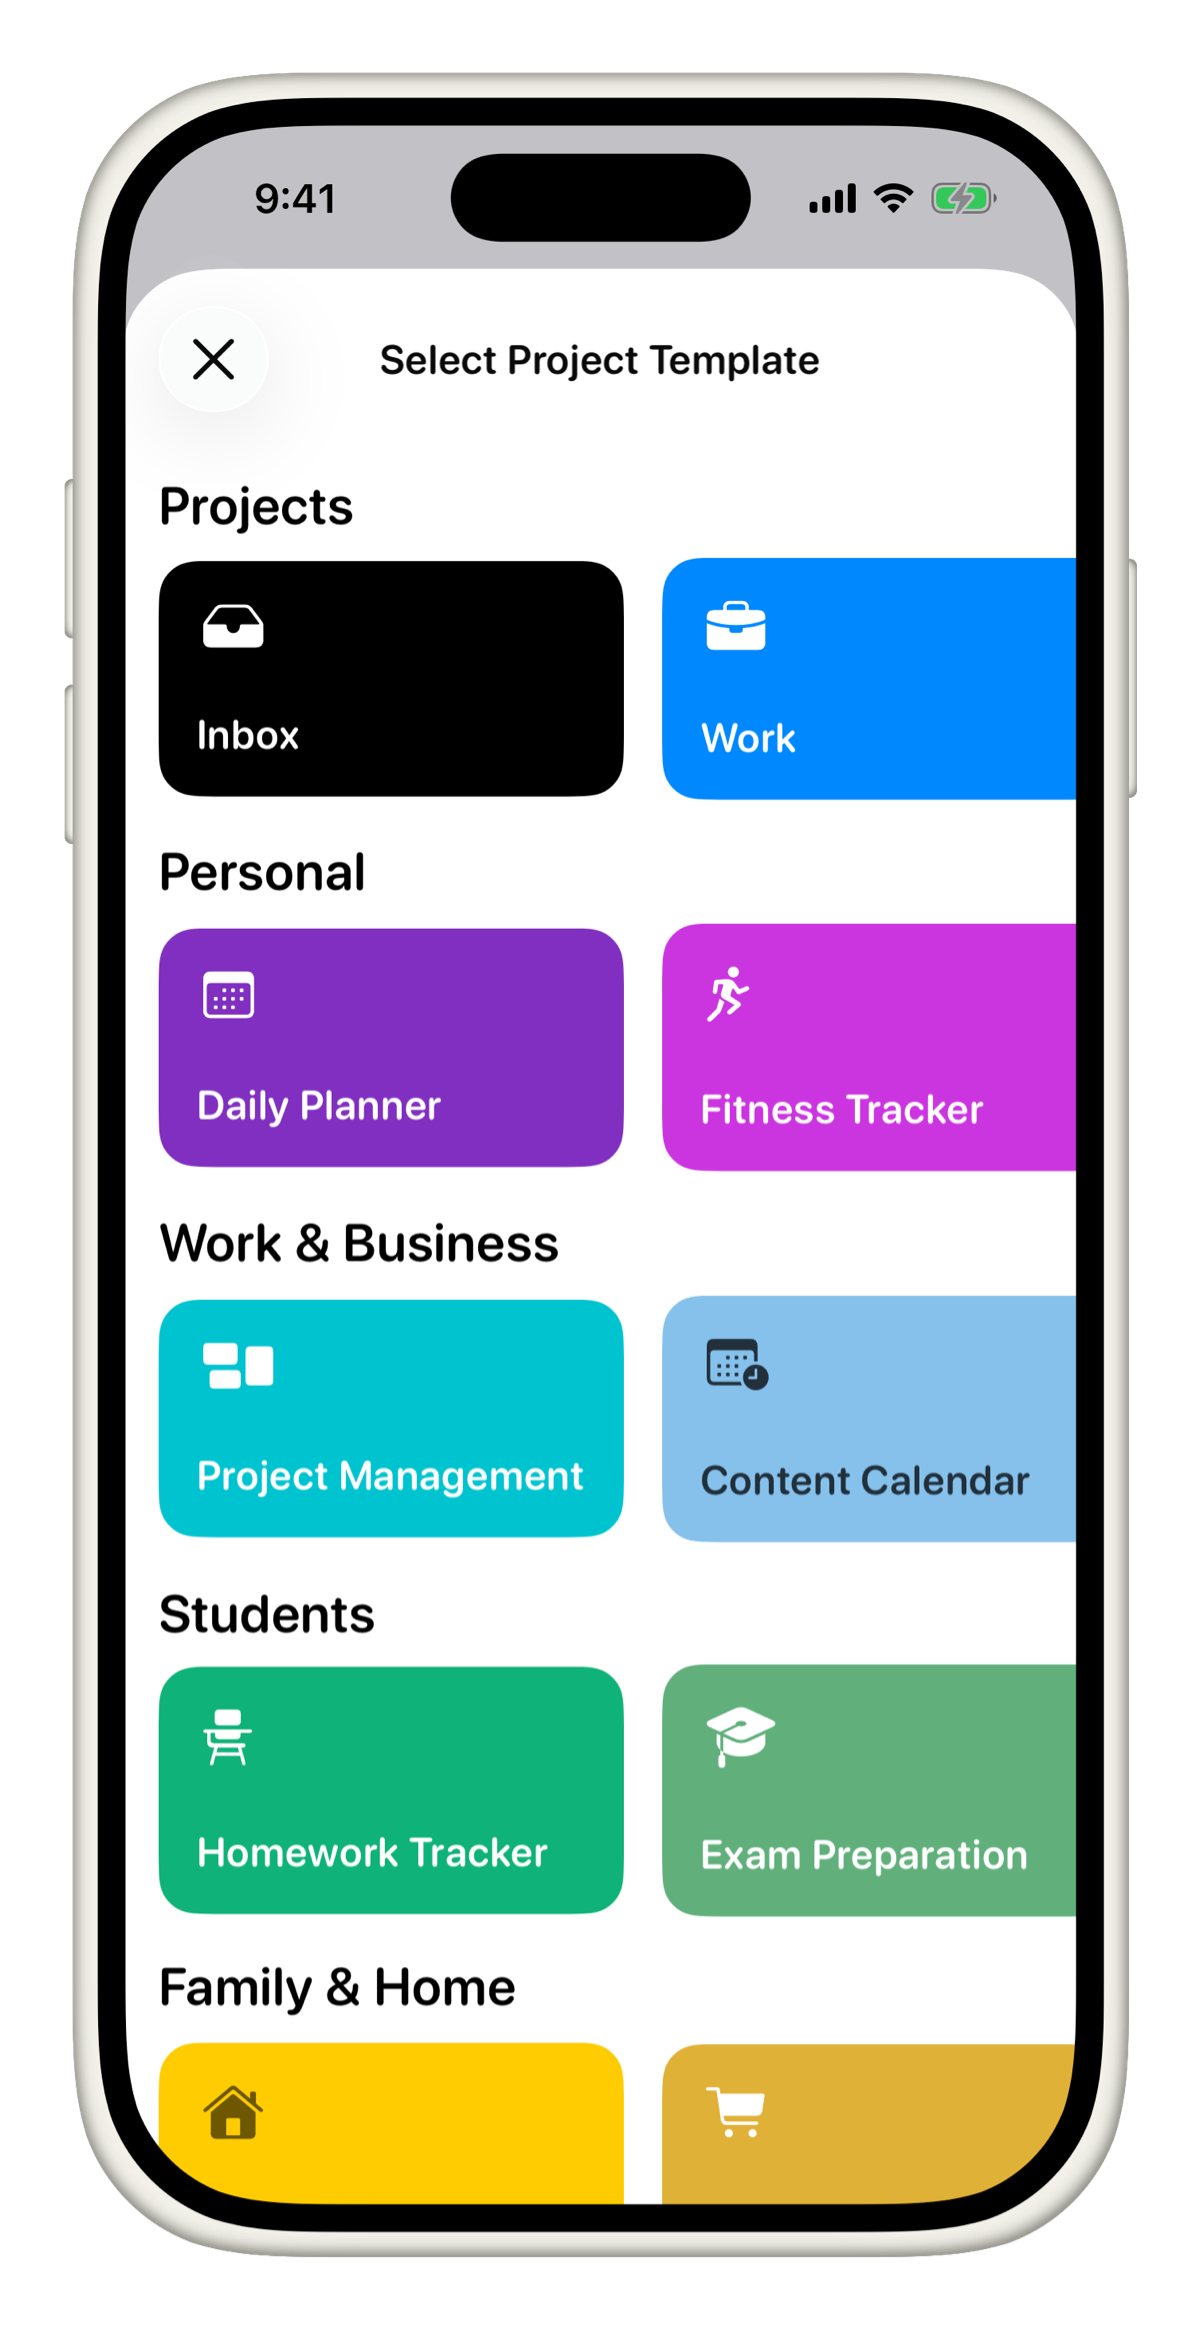
Not sure where to start? Tasks comes with 16+ templates across Personal, Work & Business, Students, and Family & Home. Each template comes with fields already set up so you can hit the ground running without configuring anything.
Field types available
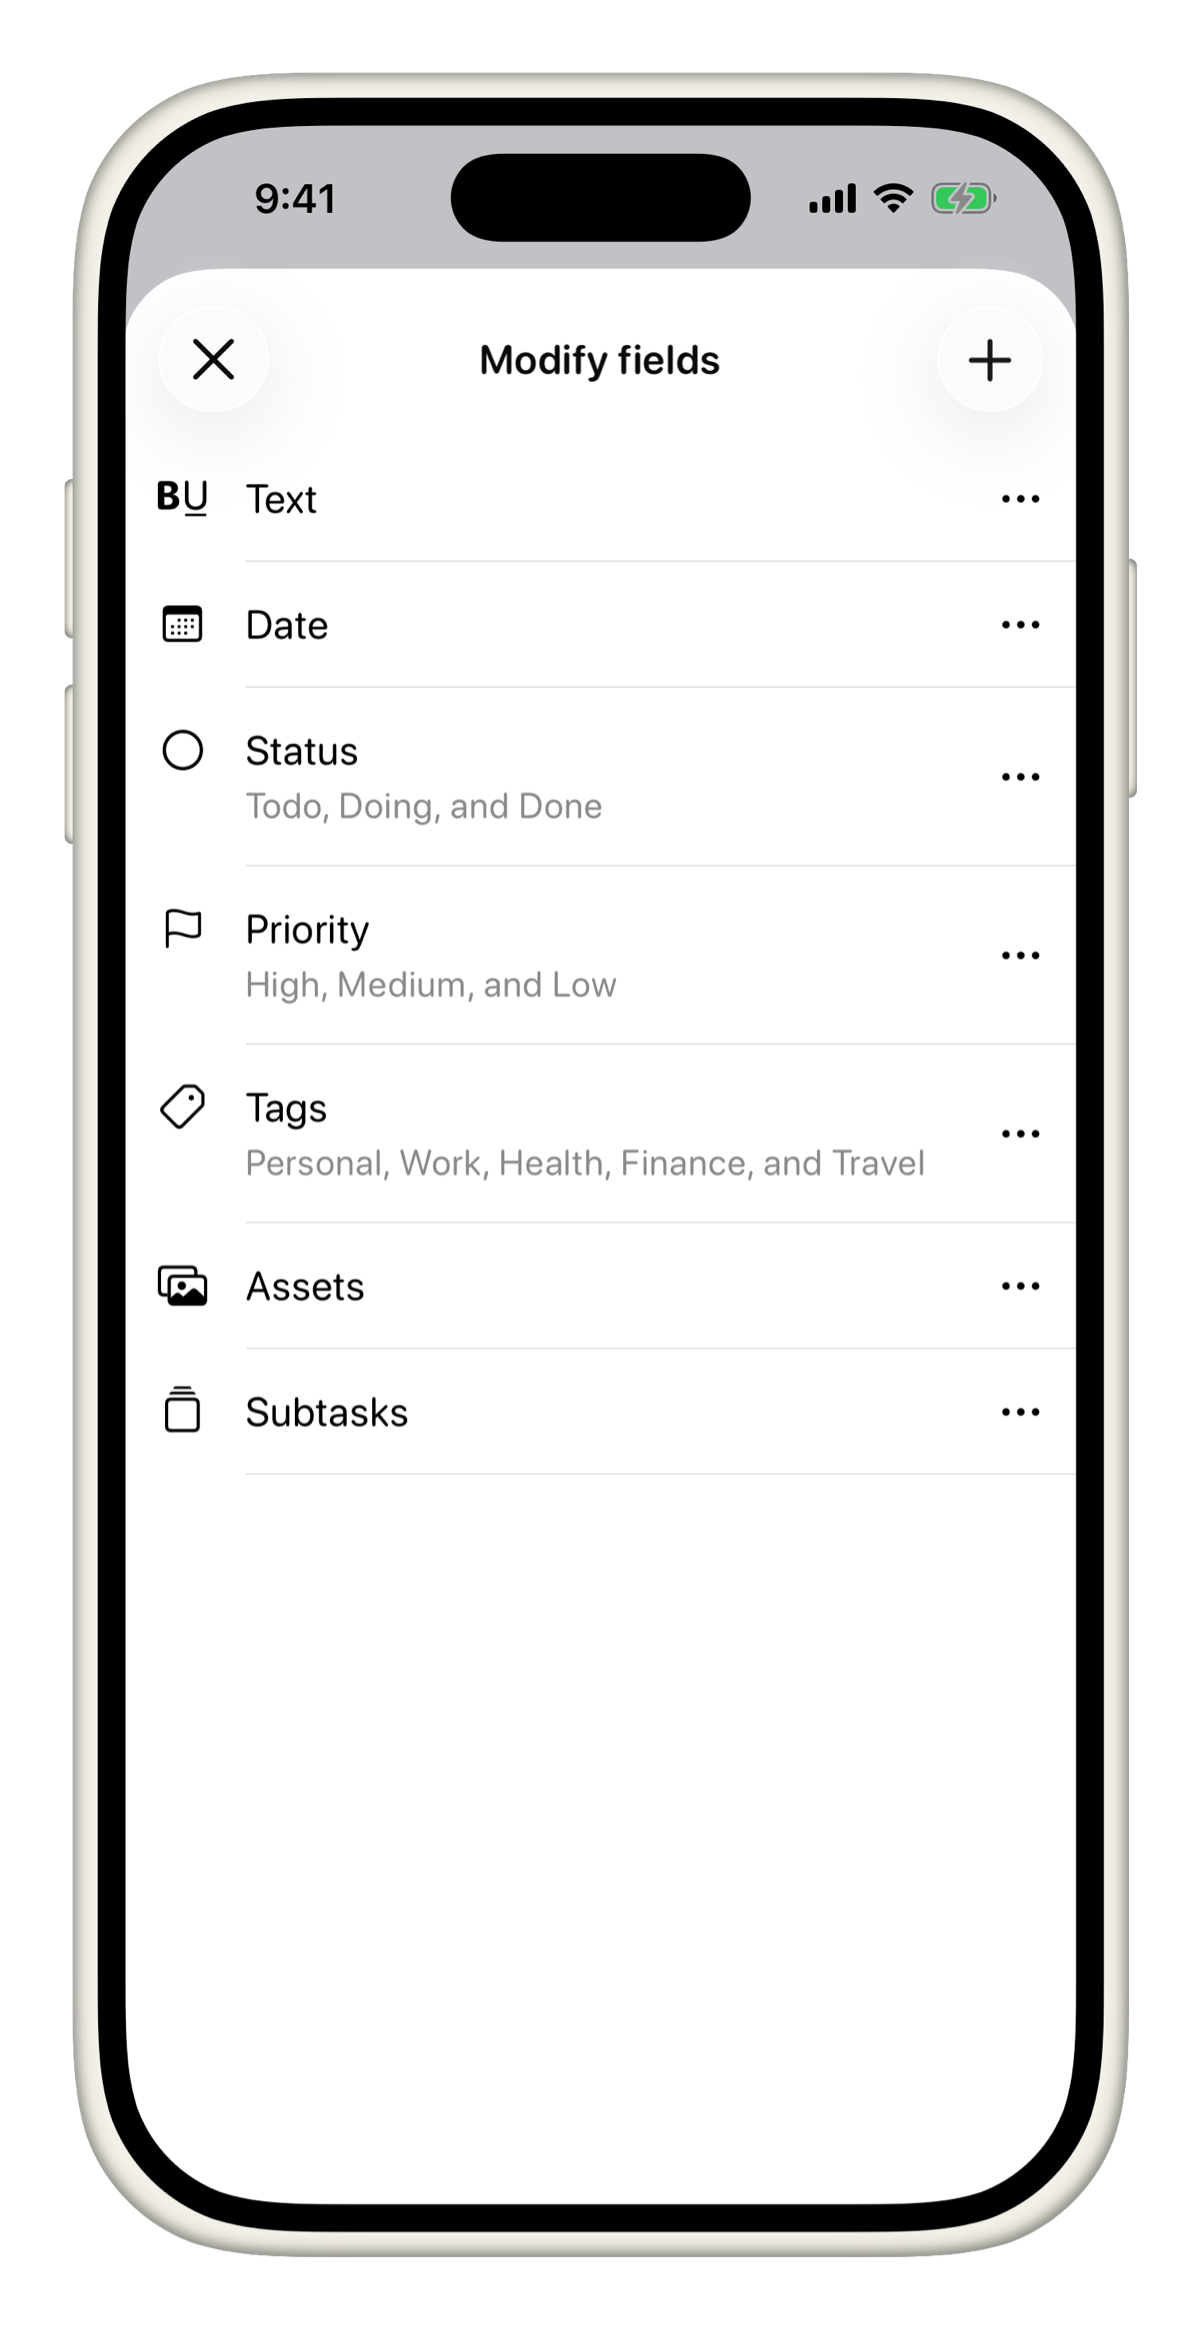
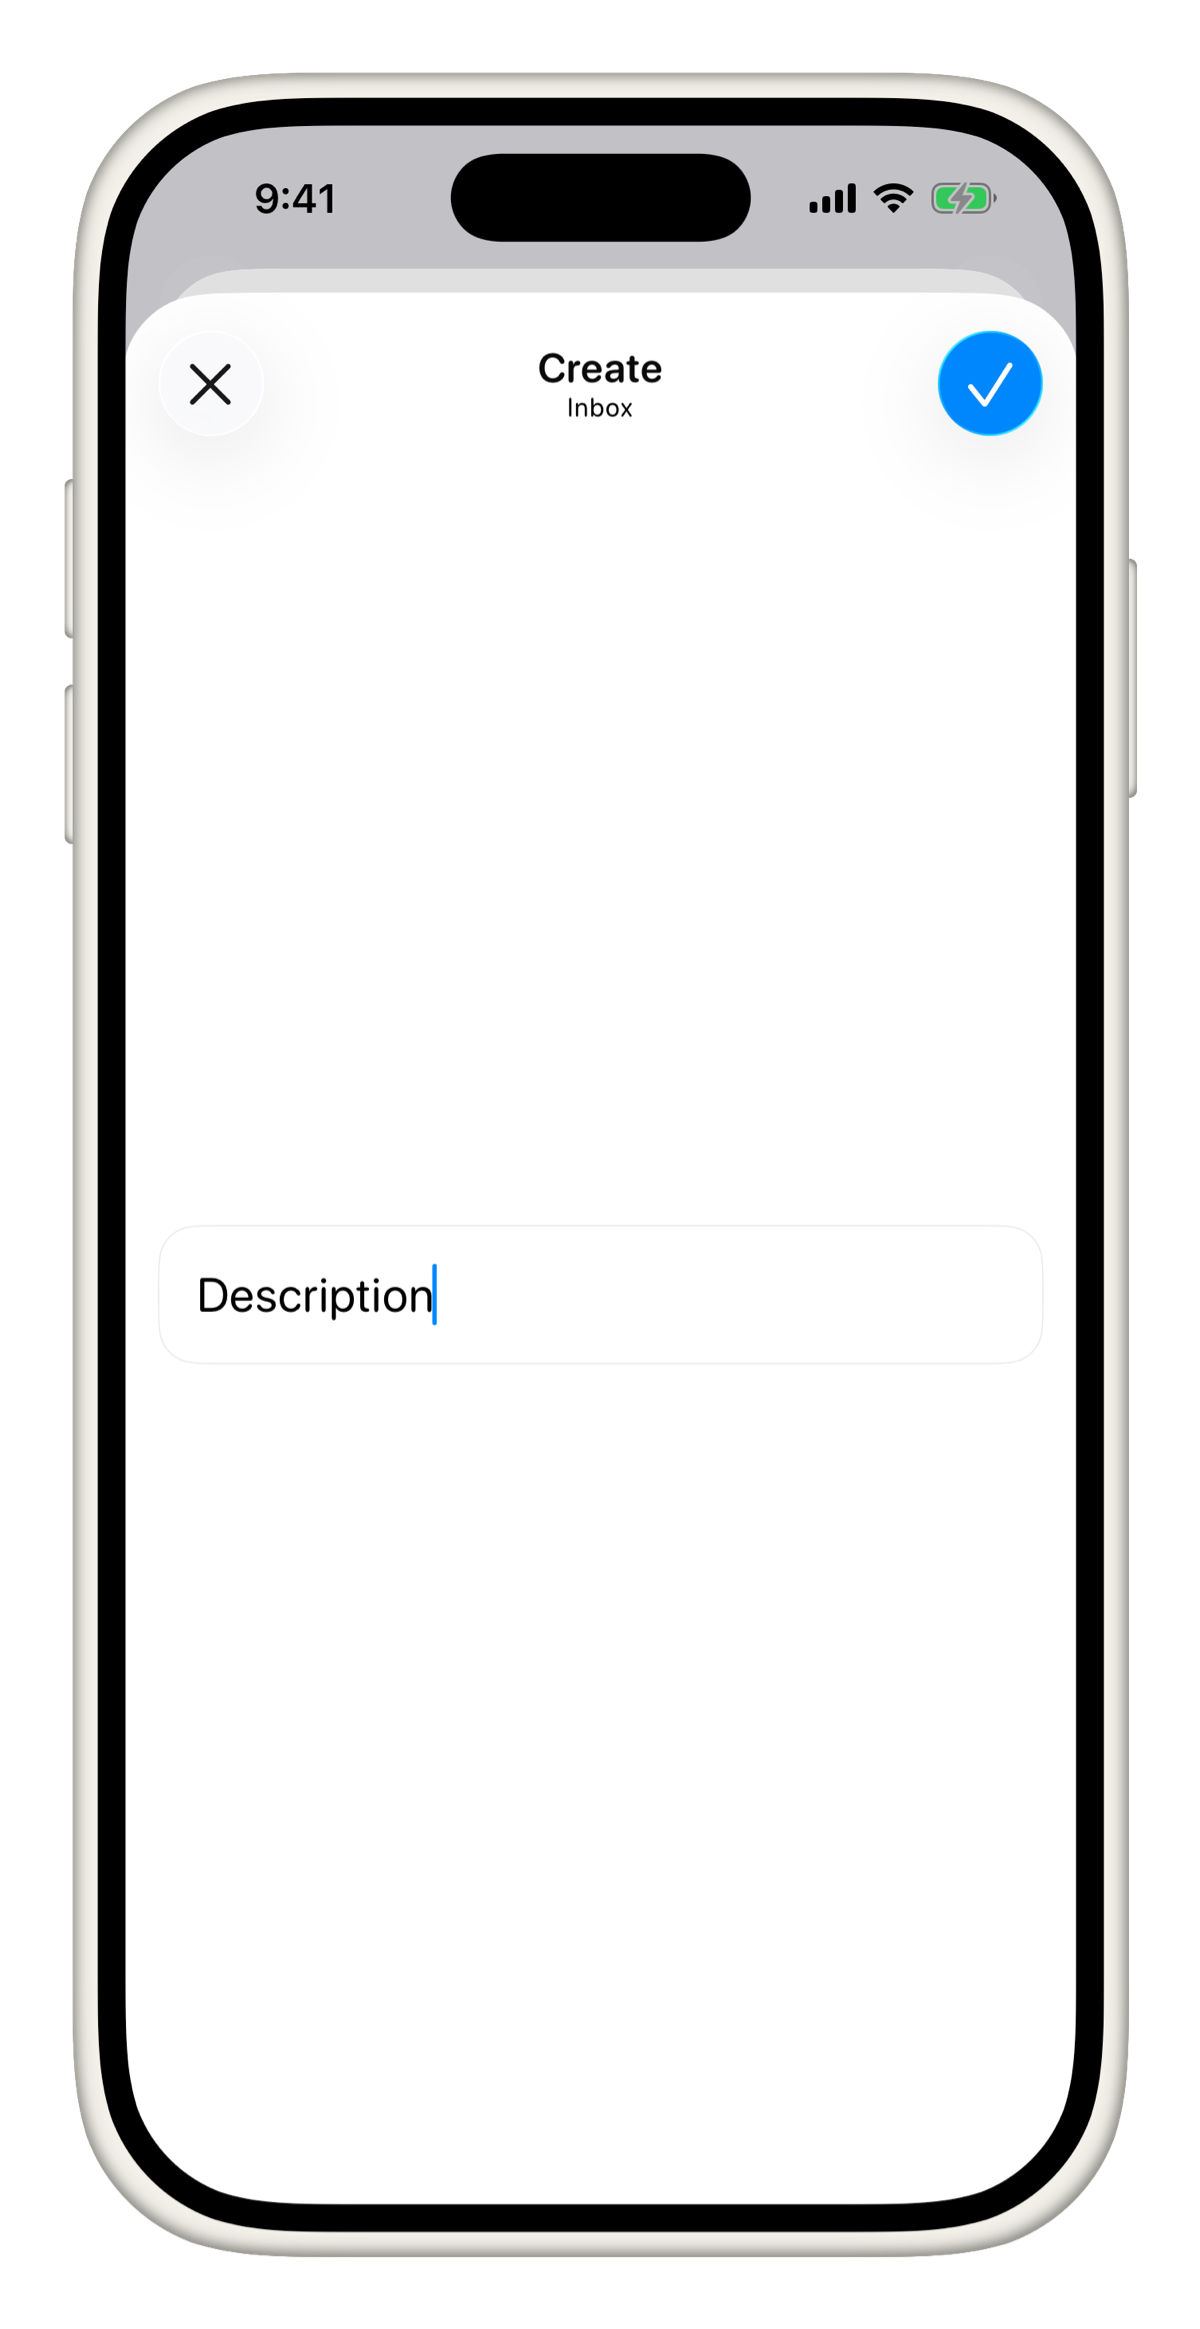
Every project starts with a default Text field. You can add more fields at any time from Modify Fields.
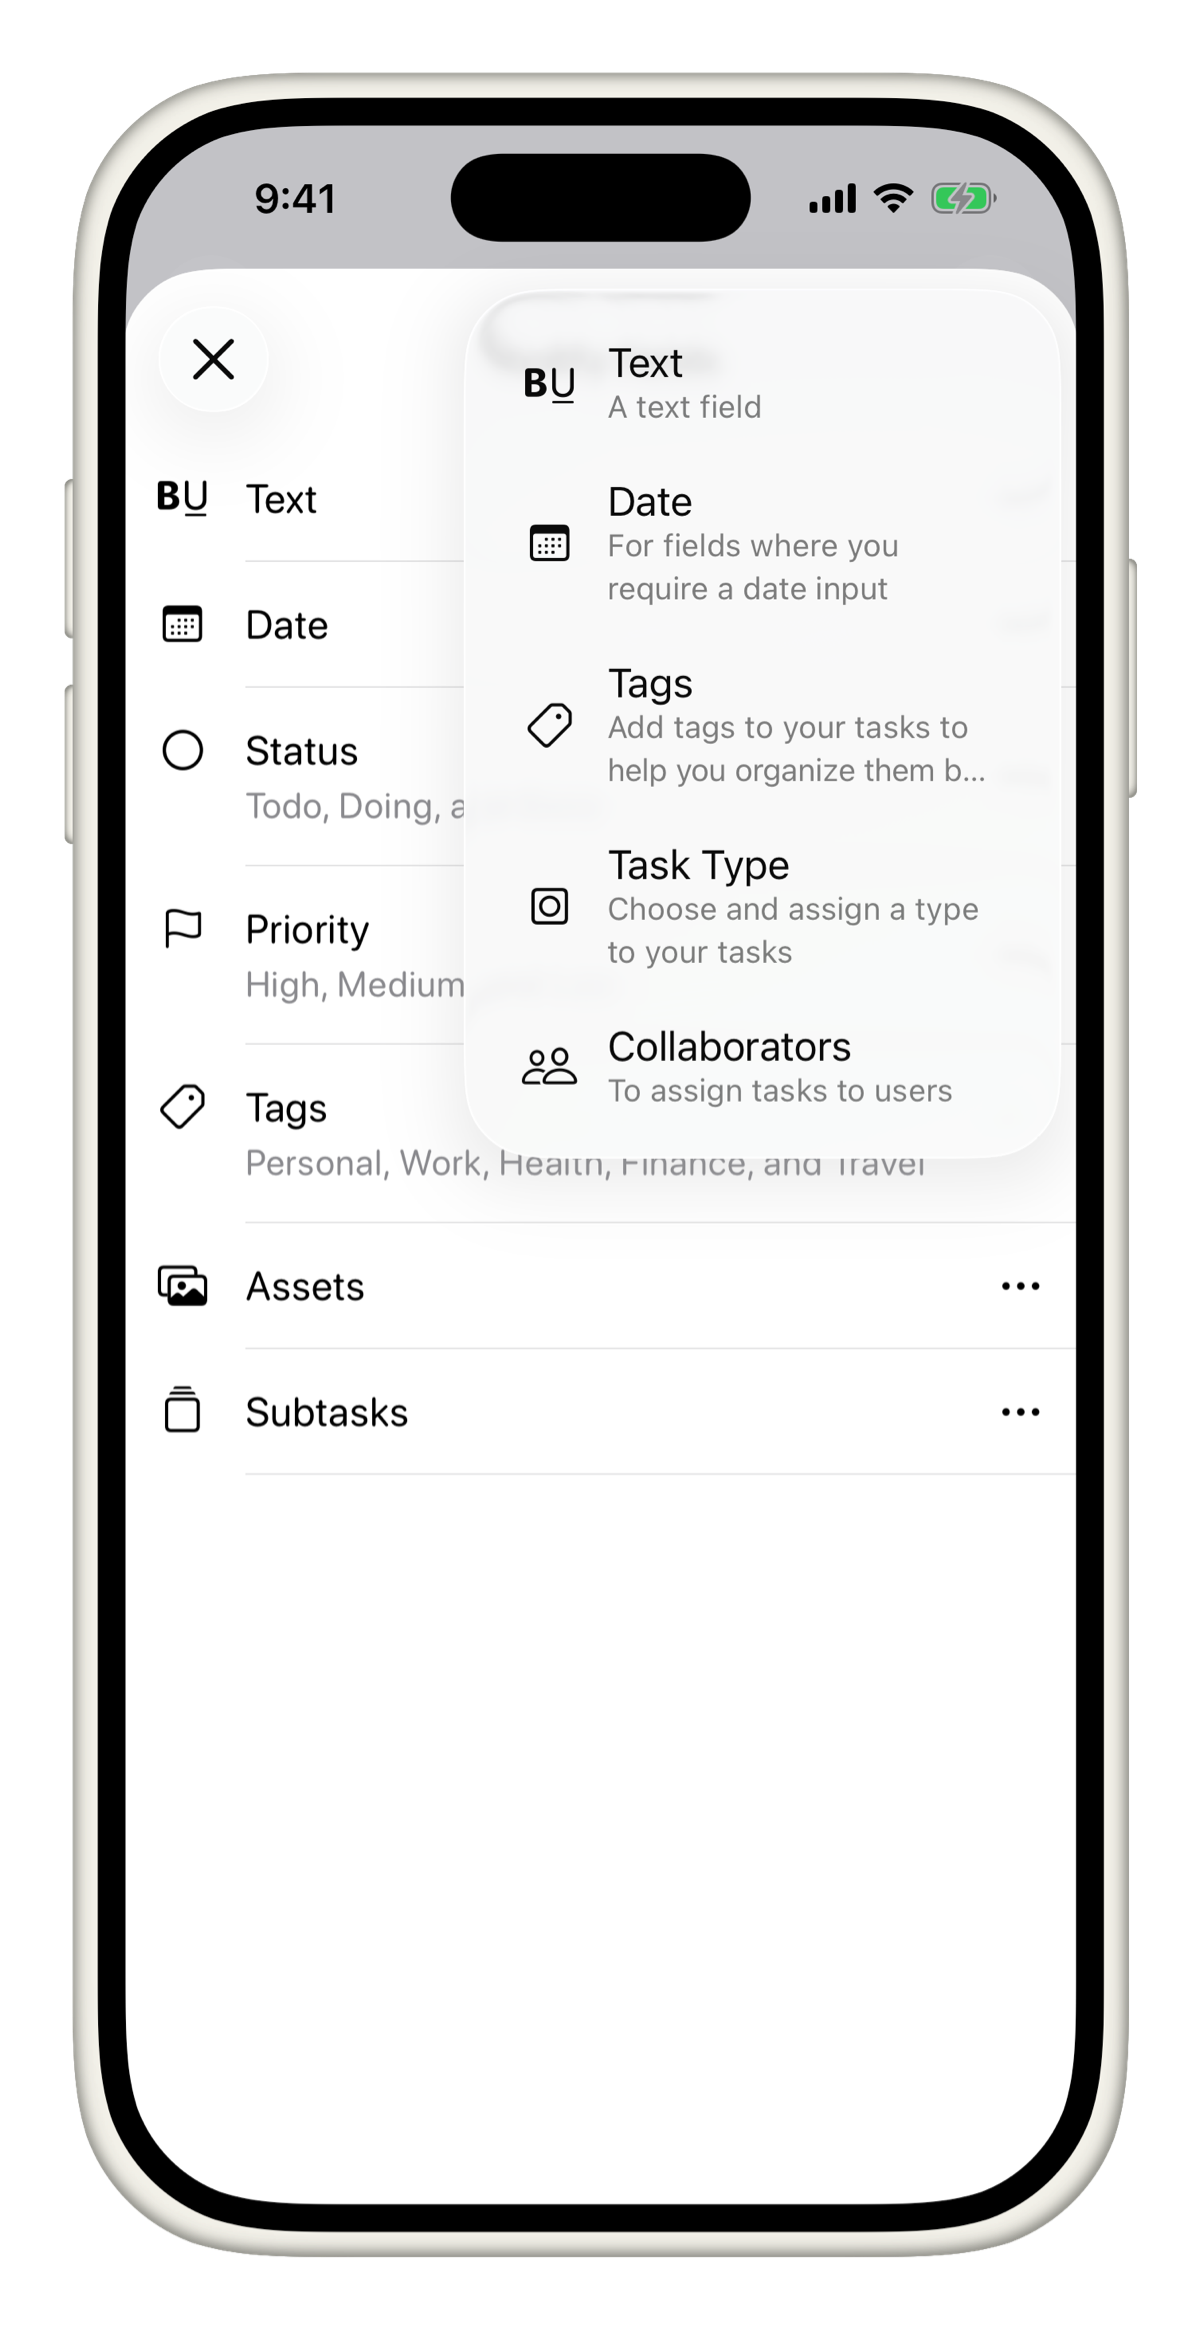
Tasks supports the following field types:
| Field | Description |
|---|---|
| Text | A free-form text field. Great for notes, links, descriptions, and more. |
| Date | For deadlines, start dates, or any date-based input. |
| Tags | Add tags to organize and filter tasks. |
| Collaborators | Assign tasks to people on your project. |
| Task Type | Categorize tasks by type, such as Bug, Feature, or Design. |
| Priority | Mark tasks as low, medium, or high priority. |
| Assets | Attach images, files, and other assets directly to a task. |
| Comments | Leave notes and updates on a task. |
| Subtasks | Break a task into smaller steps. |
Text, Date, Tags, and Collaborators support multiple instances. You can add more than one of each to the same project. For example, a project could have both a Due Date and a Start Date field.
Open Modify Fields
- Long press on any project in the sidebar.
- Tap Modify Fields.

Add a new field
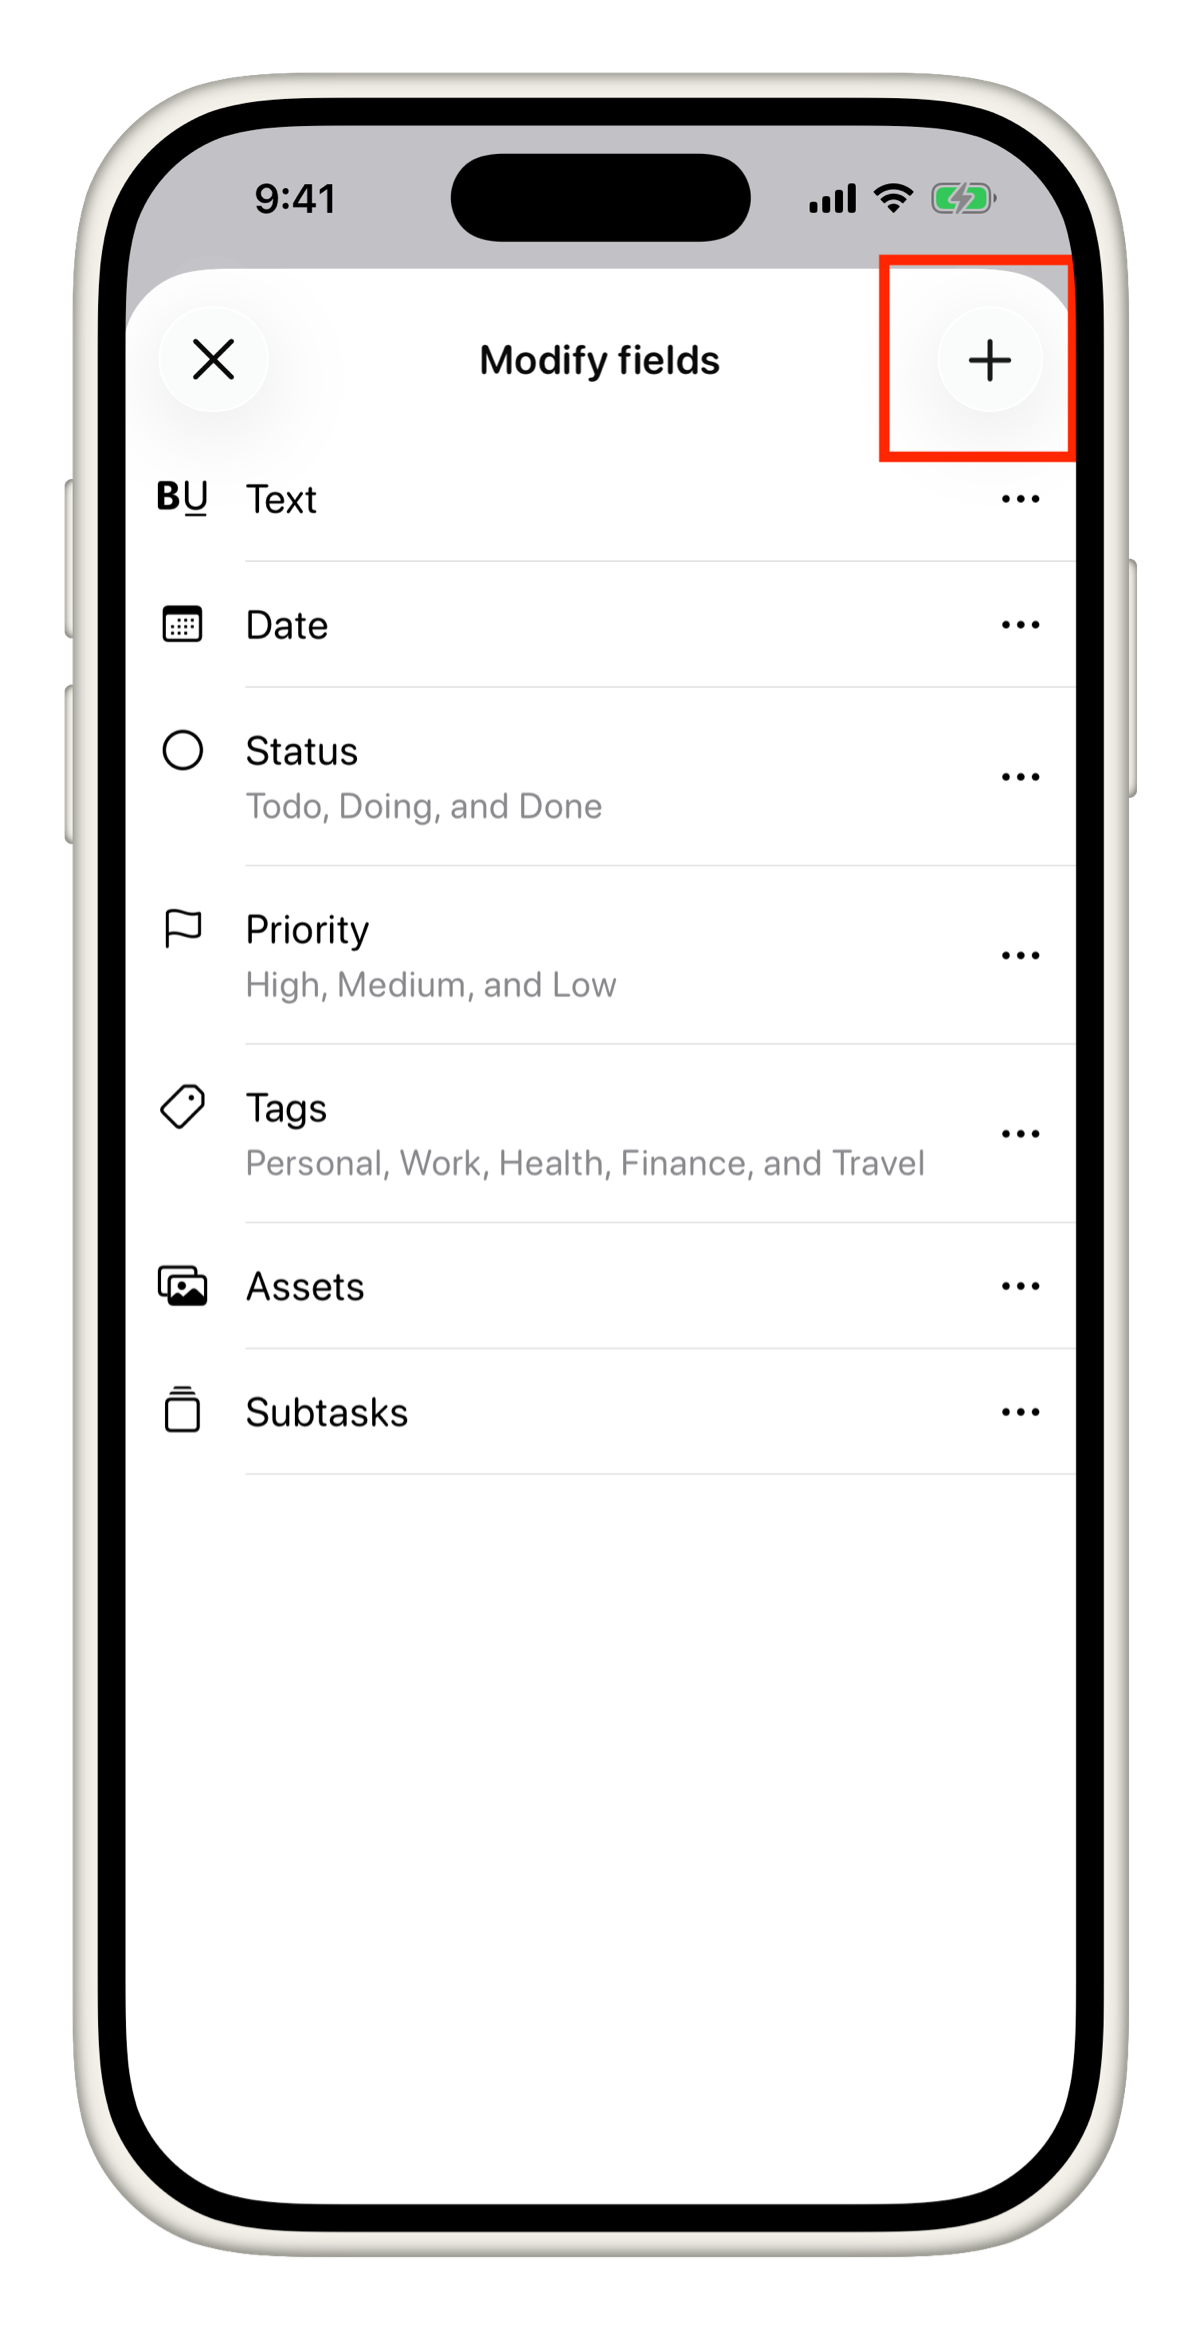
- Open Modify Fields for your project.
- Tap the + icon in the top right.
- Select the field type you want to add.
- Enter a name for the field.
- Tap Save.
Give fields clear, specific names that match your workflow. Instead of "Date", try "Launch Date" or "Review By". This makes tasks much easier to scan at a glance.
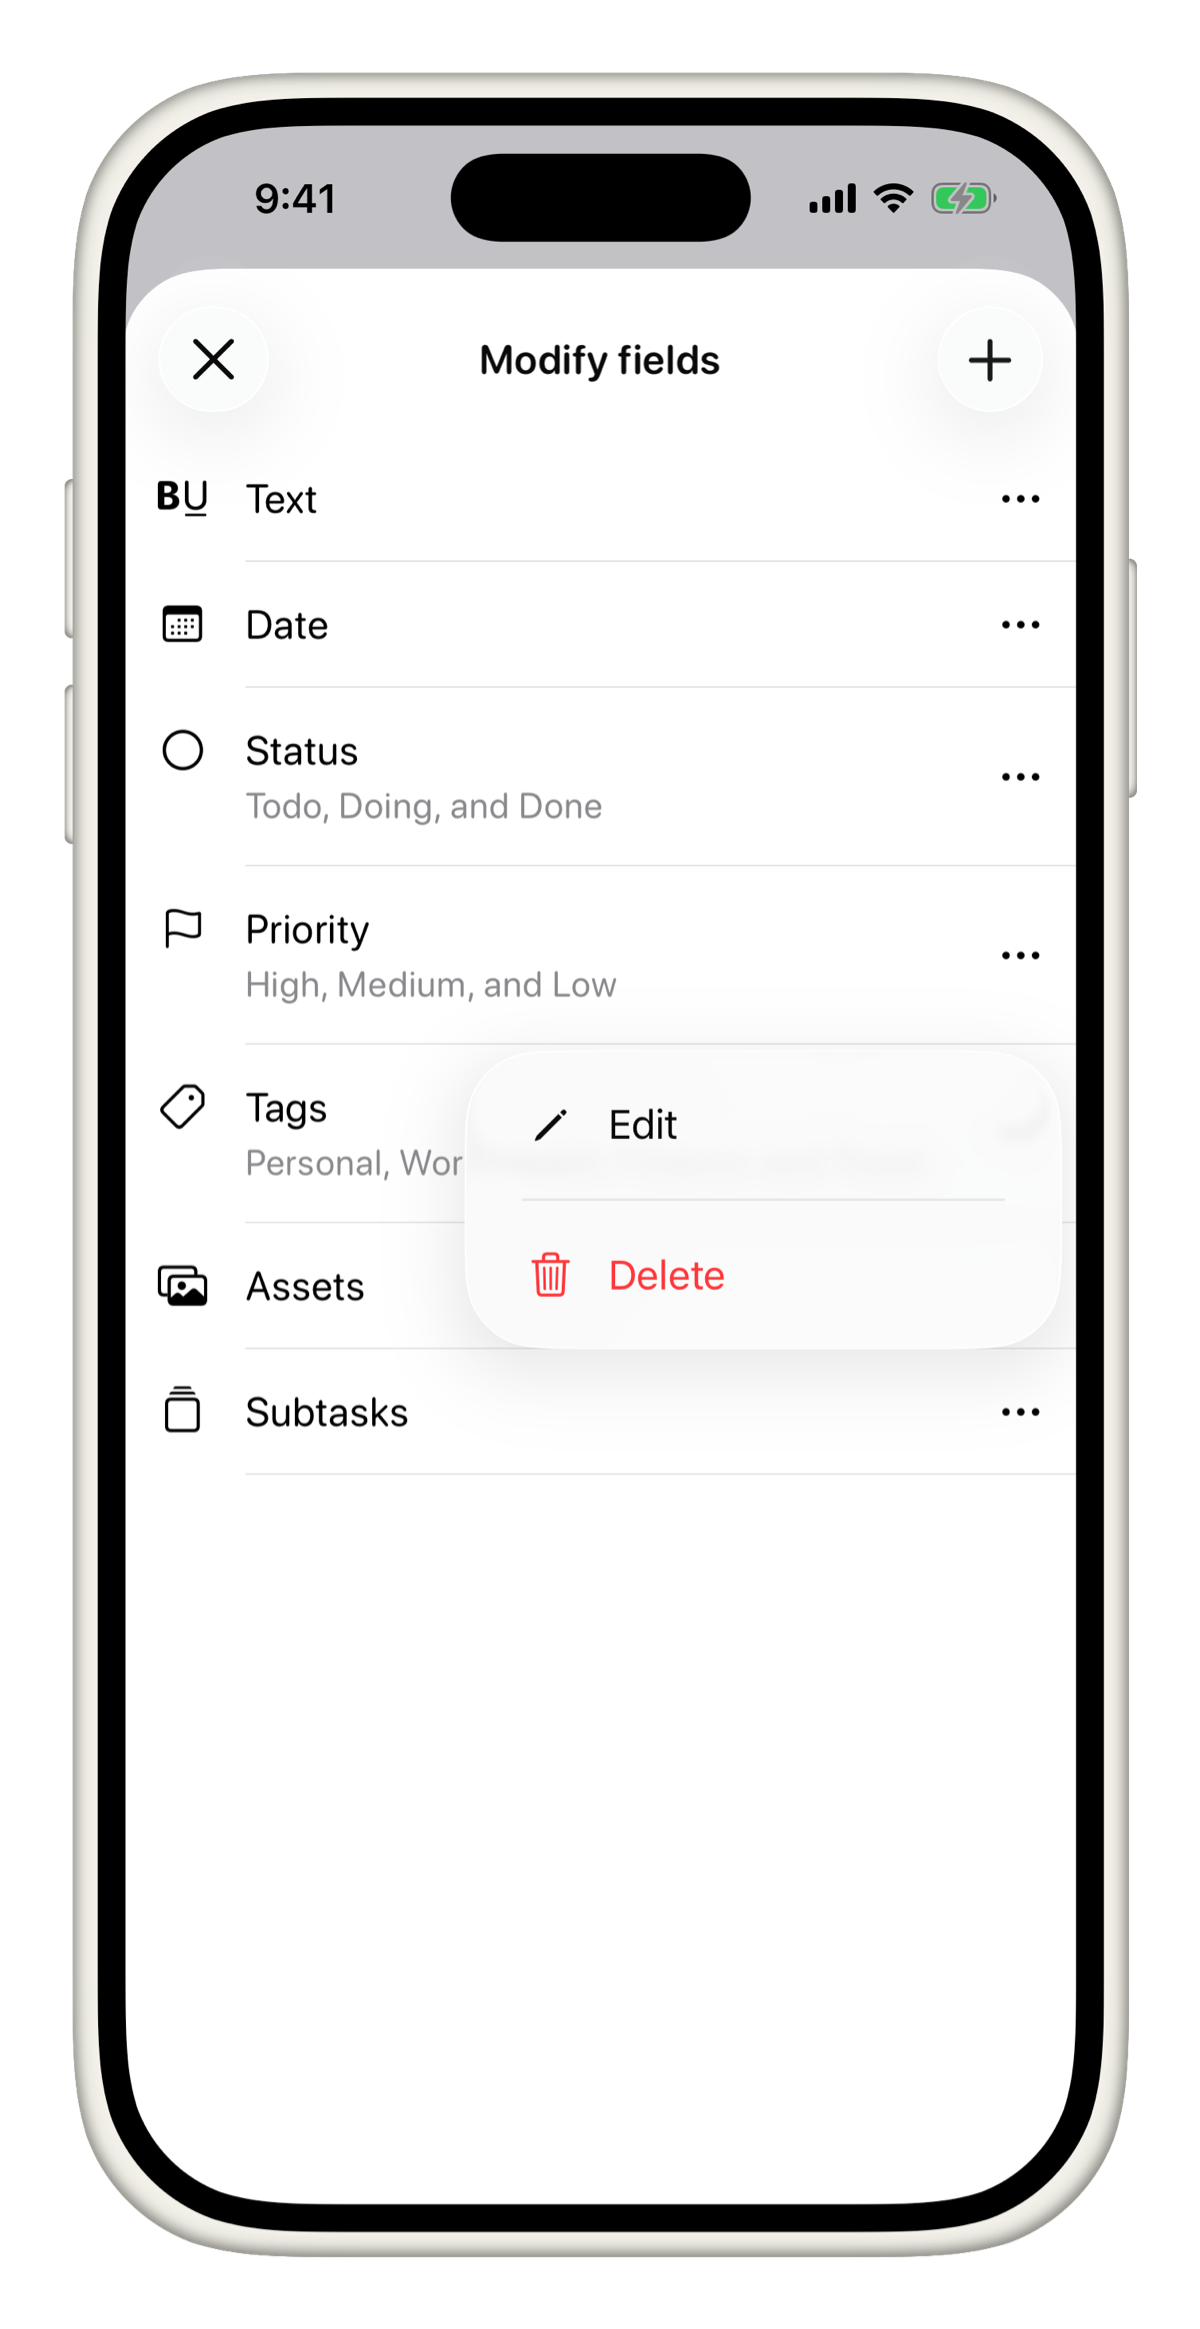
Edit or delete a field
- Open Modify Fields for your project.
- Tap on any existing field to edit its name or settings.
- To delete a field, tap the (-) icon on the left side of the field.
If you delete a field, all the data where this field has been set will be lost.
Reorder fields
- Open Modify Fields.
- Long press on any field.
- Drag it to the position you want.
The order you set here is the order fields appear inside every task in that project.
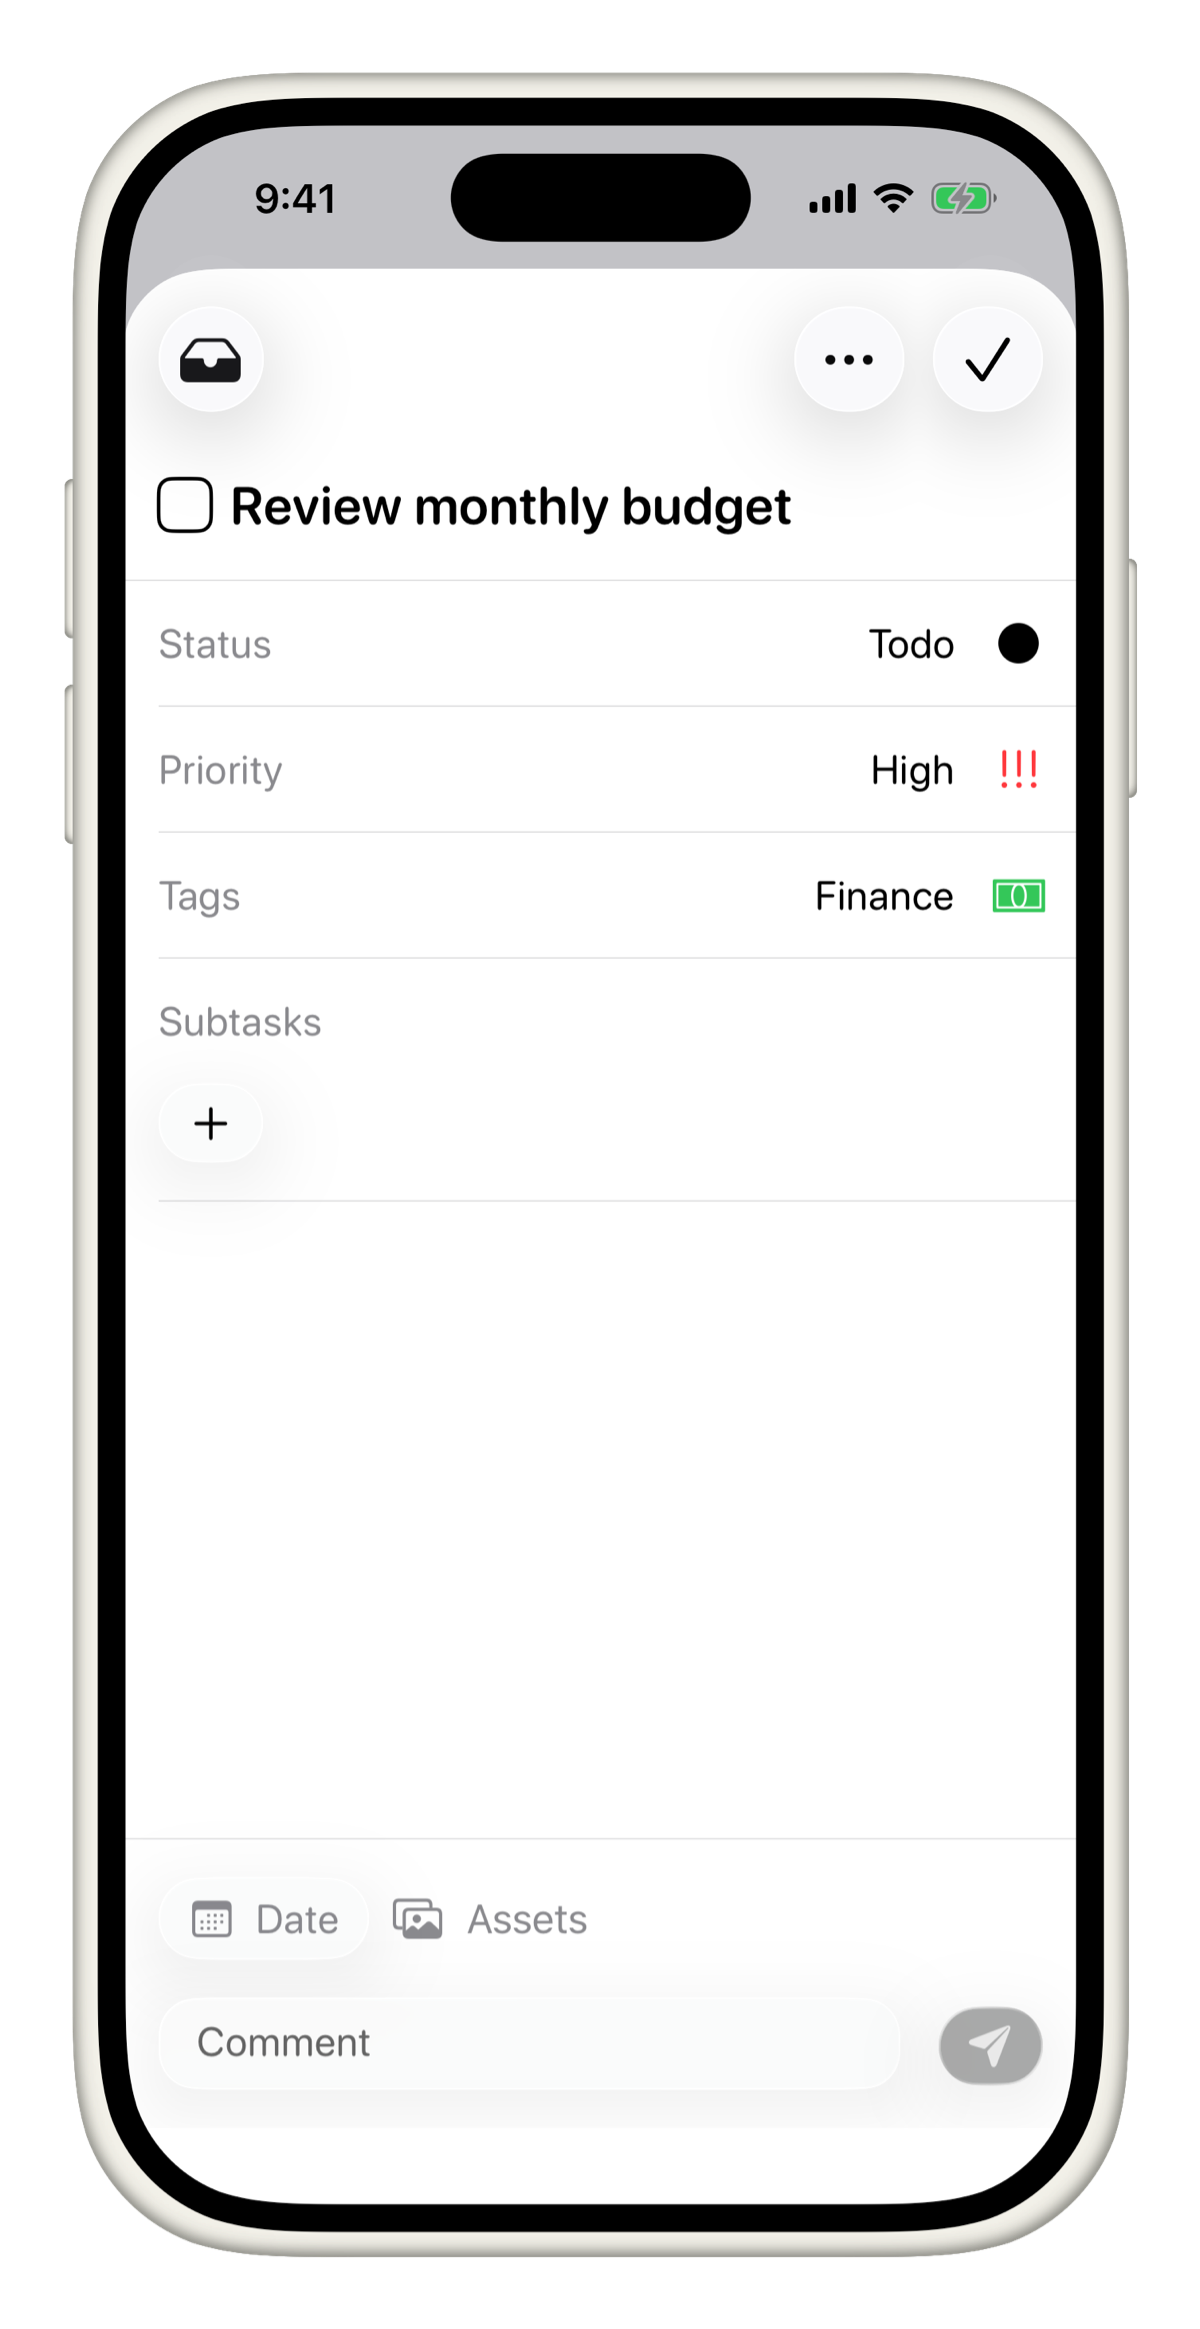
What it looks like on a task
Once your fields are set up, every task in the project shows them automatically. Here is an example of a task with a custom Text field for a link, a Date, Priority, and Assets.
Field changes apply to the whole project. Adding or removing a field affects all tasks in that project, not just new ones.
Still have questions? Reach out to our support team at tasks@msquarelabs.com and we are always happy to help.